Crispy Air Fryer Chicken Wings: Easy, Tested Method
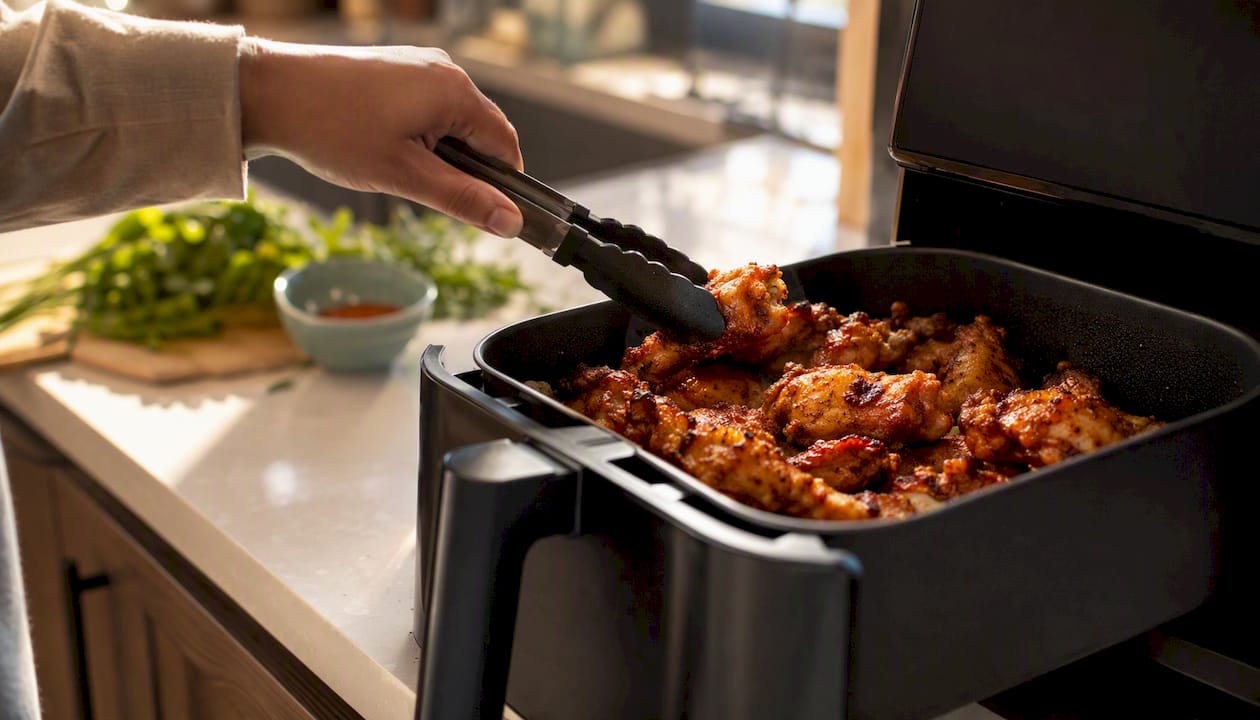
Pat your wings dry, toss them in a light baking-powder coating, and cook using a two-step approach: render at 380°F for about 12 minutes, then crank to 400°F for another 10–15 minutes until the skin is shattering. That single combination of dry skin plus baking powder is the difference between crispy air fryer chicken wings and rubbery ones. For a standard batch, total cook time runs about 22 to 30 minutes, yielding several servings.
Key Takeaways
Crispy air fryer chicken wings come down to three non-negotiable steps: dry skin, baking powder coating, and proper spacing in the basket.
| Point | Details |
|---|---|
| Dry skin first | Pat wings dry and chill uncovered 1–2 hours for the crispiest possible skin. |
| Use baking powder | A light coating of baking powder (not baking soda) is the key crisping agent. |
| Two-step temperature | Cook at 380°F to render fat, then finish at 400°F for 10–15 minutes to crisp. |
| Sauce after cooking | Toss wings in sauce only after resting 3 minutes, or the skin softens immediately. |
| Hearthlyrecipes tested method | This recipe follows Hearthlyrecipes’s tested two-step approach for consistent, repeatable results. |
Table of Contents
- Complete Air Fryer Chicken Wings Recipe
- What Air Fryer and Tools You Need
- How to Prep Whole Wings Before Cooking
- Seasoning Options and the Crisping Coating
- How to Cook Air Fryer Wings: Two Methods
- Timing and Temperature Guide
- Tips for Getting Wings Crispy Every Time
- Sauces and Serving Ideas
- How to Store and Reheat Wings
- Nutrition Snapshot and Substitution Notes
- Why the Method Works: Baking Powder, Fat Rendering, and Crisp Skin
- A Note on Testing These Wings
- More Tested Air Fryer Recipes at Hearthlyrecipes
- Sources
- FAQ
Complete Air Fryer Chicken Wings Recipe
Yield: 4 servings | Prep: 10 minutes | Chill (optional): 1–2 hours | Cook: 22–30 minutes | Rest: 3 minutes
Ingredients
- 2 lbs chicken wings, split into drumettes and flats (tips removed)
- 1½ tsp baking powder (aluminum-free preferred)
- 1 tsp cornstarch (optional, adds extra crunch)
- 1 tsp kosher salt
- ½ tsp garlic powder
- ½ tsp smoked paprika
- ¼ tsp black pepper
- 1 tsp neutral oil or a light spritz
Step-by-Step Instructions
- Pat wings completely dry with paper towels. Any surface moisture is the enemy of crisp skin.
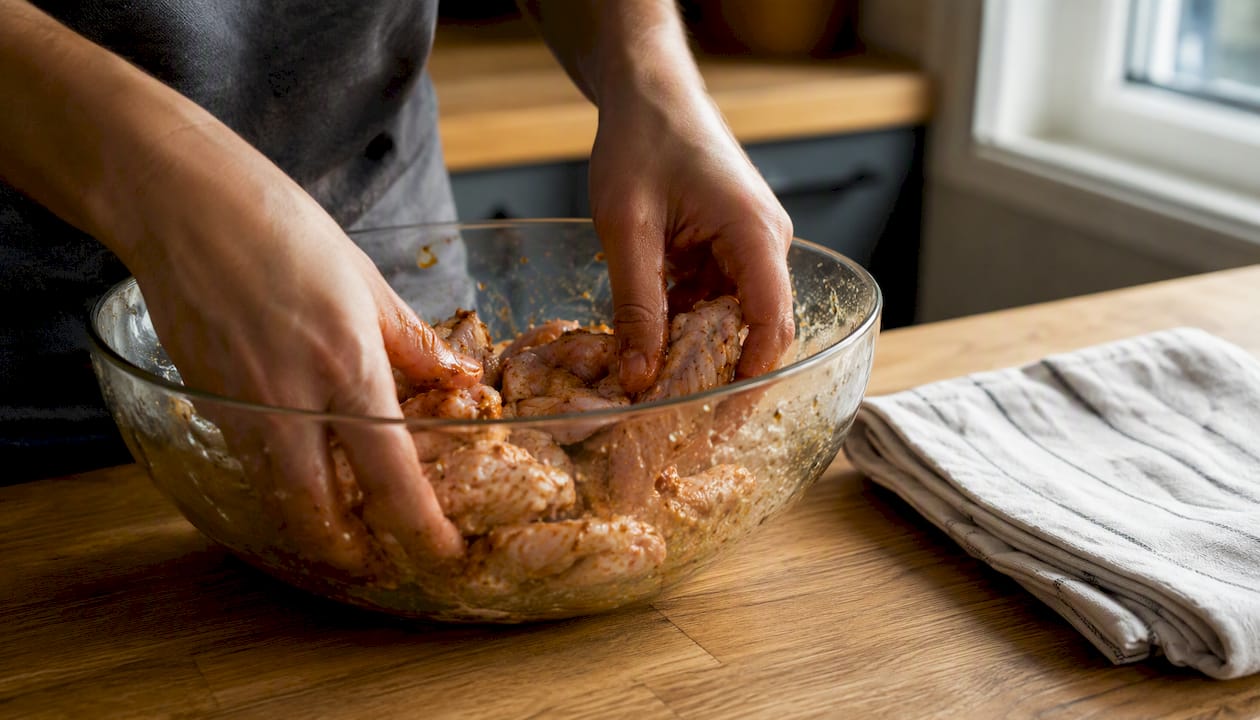
- Toss in coating. In a large bowl, combine baking powder, cornstarch, salt, garlic powder, paprika, and pepper. Add wings and toss until evenly coated. Add oil and toss again.
- Chill (optional but worth it). Arrange wings on a rack or plate, uncovered, and refrigerate 1–2 hours. This step further dries the skin and noticeably improves the final crunch, according to Bon Appétit’s tested method.
- Preheat your air fryer to 380°F for 3–5 minutes.
- Arrange in a single layer. Do not stack or overlap. Cook in batches if needed.
- Cook at 380°F for 12 minutes, flipping halfway through. This renders the fat under the skin.
- Raise to 400°F and cook 10–15 more minutes, flipping once, until skin is deep golden and crackling.
- Check doneness. Internal temperature must reach 165°F at the thickest part.
- Rest 3 minutes, then toss in sauce or serve immediately.
Quick Notes
- Toss in sauce after cooking, not before, or the skin softens.
- Frozen wings work but add 5–8 minutes and shake more frequently.
- Nutrition below is for plain wings before sauce.
Nutrition Per Serving (approx., plain, bone-in)
| Nutrient | Amount |
|---|---|
| Calories | ~290 kcal |
| Protein | ~24 g |
| Total Fat | ~20 g |
| Carbohydrates | ~1 g |
Note: Values shift with sauce. Buffalo sauce adds roughly 50–80 kcal per serving depending on portion.
What Air Fryer and Tools You Need
Any air fryer that holds wings in a single layer without stacking will do the job. For a 2 lb batch, a 5–6 quart basket-style model handles it in one or two rounds. Smaller 3-quart units need two full batches.
Useful tools:
- Instant-read thermometer (a Thermapen or similar) to confirm 165°F without guessing
- Tongs for flipping without tearing the skin
- Paper towels in quantity — you’ll use more than you think
- Refillable spritz bottle for oil; several recipe developers warn against aerosol sprays because they can degrade nonstick basket coatings over time
Basket vs. oven-style air fryers: Basket-style units circulate heat more aggressively around the food, which tends to produce crispier results on wings. Oven-style air fryers (the countertop toaster-oven type) have more capacity but slightly less concentrated airflow. If you’re using an oven-style model, add 3–5 minutes to the cook time and check early.
Pro Tip: Preheat your air fryer every time. Cold-start cooking adds steam from the wings before the basket gets hot enough to crisp, which is exactly what you’re trying to avoid.
How to Prep Whole Wings Before Cooking
Whole wings come in three parts: the drumette, the flat (wingette), and the tip. Splitting them gives you more surface area exposed to hot air, which means faster, more even cooking.
- Place the wing flat on a cutting board.
- Bend it to find the joint between the drumette and the flat. Cut straight through that joint with a sharp chef’s knife or kitchen shears.
- Find the second joint between the flat and the tip. Cut through it. Discard tips or save them for stock.
- Pat every piece dry with paper towels. Then pat again.
For the best possible skin, lay the dried pieces on a wire rack set over a sheet pan and leave them uncovered in the refrigerator for at least one hour. Two hours is better.
Dry skin is the foundation of crispy wings. Moisture on the surface turns to steam in the air fryer, and steam is what makes skin rubbery. No coating or technique fully compensates for wet wings going into the basket.
Food safety: Raw poultry requires careful handling. Wash hands, cutting boards, and any surface that touched raw chicken before moving on. Wings are safe to eat when the internal temperature hits 165°F — use a thermometer, not color alone, to confirm.
Seasoning Options and the Crisping Coating
The coating does two jobs: it seasons the meat and it creates the crispy shell. Baking powder is the key ingredient. Its alkalinity raises the skin’s surface pH, which accelerates the Maillard browning reaction and draws out moisture simultaneously. The result is a drier, crispier exterior without deep-frying.
Basic dry rub (per 2 lbs wings):
- 1½ tsp aluminum-free baking powder
- 1 tsp kosher salt
- ½ tsp garlic powder
- ½ tsp smoked paprika
- ¼ tsp onion powder
- ¼ tsp black pepper
Add 1 tsp cornstarch if you want an extra-crunchy shell. Cornstarch absorbs surface moisture and crisps up similarly to how it works in a light batter.
Critical warning: Do not substitute baking soda. Taste of Home notes that baking soda can leave an unpleasant metallic aftertaste if misused, and it’s far more concentrated than baking powder. Stick with baking powder, and choose aluminum-free to avoid any off-flavor risk.
Pro Tip: Use just enough oil to help the coating stick — about 1 tsp per 2 lbs, or a light spritz from a refillable bottle. More oil doesn’t mean crispier wings; it means greasier ones.
How to Cook Air Fryer Wings: Two Methods
The two-step render-and-crisp method
This is the approach Bon Appétit and Wholesome Yum both converge on, and it produces the best texture.
- Preheat air fryer to 380°F.
- Arrange wings in a single layer, skin side up where possible.
- Cook at 380°F for 12 minutes, flipping at the 6-minute mark.
- Raise temperature to 400°F.
- Cook another 10–15 minutes, flipping once more, until skin is deep golden and crackling.
- Pull one wing and check internal temp: 165°F minimum.
- Rest 3 minutes before saucing.
The lower first stage renders the fat beneath the skin slowly, so it doesn’t burn before the meat cooks through. The high-heat finish then crisps the now-rendered skin quickly.
The single-temp method
If you want simplicity, 400°F straight through works reliably. Skinnytaste and other home-cook sources put single-layer wings at roughly 16–22 minutes at 400°F, flipping once halfway. The skin crisps well, though the two-step method gives a slightly more even result on thicker drumettes.
Batching tips:
- Never crowd the basket. Wings touching each other trap steam and go soft.
- Cook in batches and hold the first batch warm at around 170°F in a low oven while the second batch finishes.
- Shake or flip at least once per cook cycle regardless of method.
Doneness check: Skin should be visibly browned and pull away slightly from the bone at the tip. Confirm with a thermometer — 165°F at the thickest part of the drumette, not touching bone.
Timing and Temperature Guide
Fresh, thawed wings are the baseline. Frozen wings and size variations require adjustments.
Serious Eats puts buffalo-style wings at 22–25 minutes at 400°F as a practical benchmark, with the exact time adjusted for how crispy you want them.
Adjustments to keep in mind:
- Smaller flats cook faster than drumettes. Check flats at the 18-minute mark if cooking a mixed batch.
- Frozen wings benefit from a partial thaw overnight in the fridge. Cook-from-frozen works but requires more frequent shaking and adds noticeable time.
- Every air fryer runs slightly differently. The first time you make this recipe, check at 20 minutes and adjust from there.
Tips for Getting Wings Crispy Every Time
The biggest mistake home cooks make is crowding the basket. Packed wings steam each other. A single layer with small gaps between pieces is non-negotiable for crispy results.
What actually makes the difference:
- Dry the wings twice. Once after washing, once after coating. The refrigerator chill step (1–2 hours uncovered) measurably improves skin dryness and is one of the most consistent crisping upgrades you can make.
- Baking powder is the secret. It’s the home-cook equivalent of the deep-fryer’s hot oil bath — Wholesome Yum’s practitioner tests confirm it reliably increases surface crispness without extra oil.
- Sauce goes on after cooking. Tossing wings in sauce before they rest softens the skin. Wait until they’ve rested 3 minutes, then toss quickly and serve.
- Re-crisping leftovers: Arrange cold wings in the air fryer basket at 375°F for 5–6 minutes. They come back remarkably close to fresh.
Pro Tip: Skip the aerosol cooking spray. The propellants in canned sprays break down nonstick coatings over time. A refillable oil mister or a quick toss with a teaspoon of oil does the same job without the damage.
Sauces and Serving Ideas
Sauce timing matters. For most sauces, toss wings in a bowl right after the rest period and serve immediately. For sticky glazes like honey-garlic, toss first then return wings to the air fryer at 400°F for 1–2 minutes to set the glaze without softening the skin.
Classic sauce options
- Buffalo: Melt 4 tbsp unsalted butter, whisk in ½ cup Frank’s RedHot. Toss wings immediately after cooking. Allrecipes documents this ratio as the standard for classic buffalo flavor balance.
- Honey-garlic: 3 tbsp honey, 2 tbsp soy sauce, 2 cloves minced garlic, 1 tsp rice vinegar. Toss, then return to air fryer for 1–2 minutes.
- Lemon pepper: 2 tbsp melted butter, 1½ tsp lemon pepper seasoning, zest of half a lemon. Toss after cooking.
- Garlic-parmesan: 3 tbsp melted butter, 3 minced garlic cloves, ¼ cup grated parmesan. Toss and serve immediately.
Serving suggestions
- Set out celery sticks, carrot sticks, and a bowl of blue cheese or ranch dressing alongside.
- For a game-day spread, pair with crispy air fryer onion rings and cheesy garlic bread from the air fryer.
- Wings work as a weeknight main alongside a simple green salad or roasted vegetables.
How to Store and Reheat Wings
Wings keep well and reheat better in an air fryer than in a microwave, which turns crispy skin into something closer to wet cardboard.
Storage:
- Cool wings completely before storing.
- Refrigerate in an airtight container for up to 3–4 days.
- To freeze, arrange in a single layer on a sheet pan and freeze until solid (about 2 hours), then transfer to a zip-top bag. Keeps up to 2 months.
Reheating:
- From the fridge: air fryer at 375°F for 5–6 minutes, flipping once.
- From frozen: air fryer at 375°F for 10–12 minutes, shaking halfway.
Make-ahead option: Cook wings through the first 380°F stage only, then refrigerate. Finish at 400°F for 12–15 minutes right before serving. This works well for parties where you want to stagger cooking without serving cold wings.
Nutrition Snapshot and Substitution Notes
A plain bone-in serving (roughly 4–5 pieces, ~½ lb) runs approximately 290 calories, 24 g protein, and 20 g fat before sauce. Add buffalo sauce and you’re looking at roughly 340–370 calories per serving.
Common swaps and their trade-offs:
- Boneless wings: Use chicken breast cut into 1½-inch pieces. Reduce cook time to 12–15 minutes at 400°F. Crispiness depends more on cornstarch coating since there’s no skin.
- Lower sodium: Cut salt to ½ tsp and use a low-sodium hot sauce. The baking powder still works; the flavor is just milder.
- Oil-free: Skip the oil entirely. Wings will still crisp from the baking powder, but the coating may not adhere as evenly. Pat extra dry to compensate.
- Skin-on vs. skinless: Skinless wings won’t achieve the same shattering crust. The baking powder acts on the skin itself. Skinless pieces are fine, just different in texture.
Wings are done at 165°F internal temperature regardless of size, sauce, or cooking method. That number doesn’t change.
Why the Method Works: Baking Powder, Fat Rendering, and Crisp Skin
The science behind crispy wings is straightforward once you see it. Raw chicken skin contains a significant amount of fat and water. In a conventional oven or pan, that moisture steams the skin from the inside before it can brown. The air fryer’s circulating heat removes moisture faster, but it still needs help.
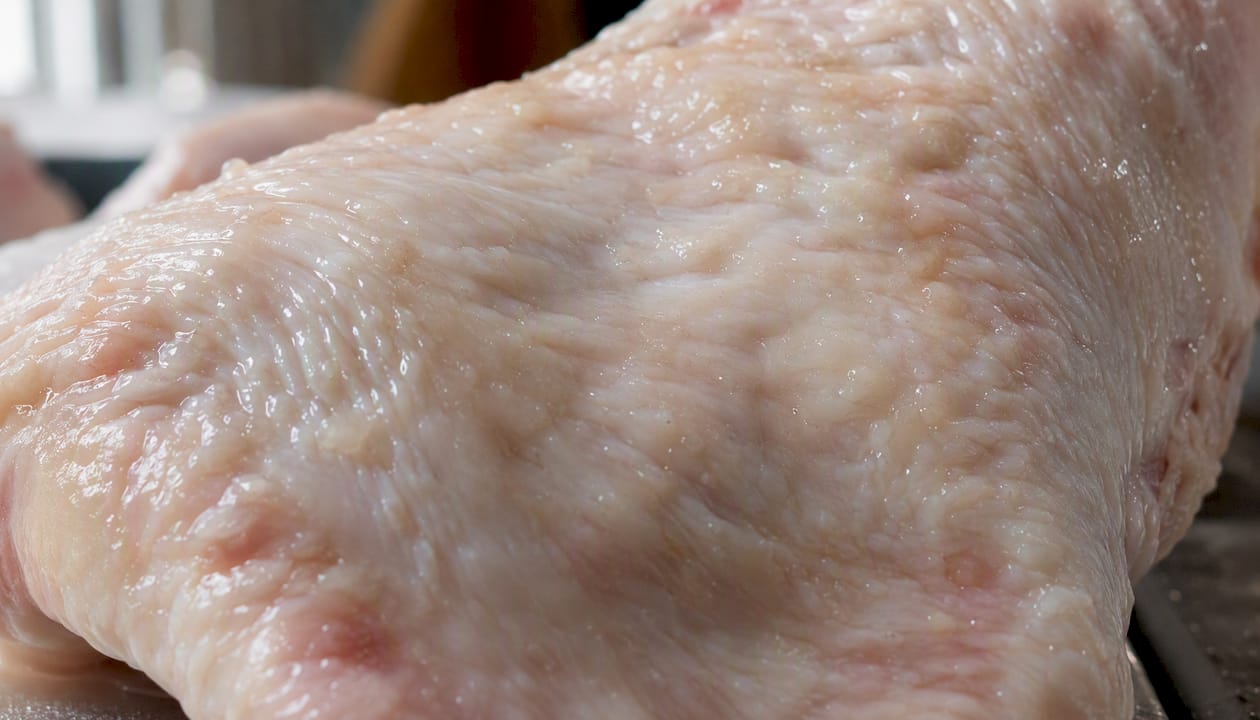
Baking powder raises the skin’s surface pH. Higher pH accelerates the Maillard reaction, the same browning process that makes bread crusts golden and steaks sear properly. It also draws moisture to the surface where it evaporates quickly. The result is a drier, more reactive surface that browns and crisps at lower temperatures than untreated skin.
The two-step temperature method handles the fat problem. Starting at 380°F gives the subcutaneous fat time to render out slowly. If you go straight to 400°F, the exterior can brown before the fat fully renders, leaving a slightly greasy layer under the skin. The high-heat finish at 400°F then crisps the now-lean skin quickly and evenly.
A Note on Testing These Wings
The two-step method described here has been tested repeatedly across basket-style and oven-style air fryers, with both fresh and previously frozen wings. The baking-powder coating and refrigerator chill consistently produce better results than skipping either step. Sauce timing matters more than most recipes acknowledge: wings tossed in sauce and left to sit for even five minutes lose meaningful crispness. Serve them fast.
More Tested Air Fryer Recipes at Hearthlyrecipes
Wings are just the start of what the air fryer does well. Hearthlyrecipes has a full collection of tested recipes built around the same principles: high heat, proper spacing, and techniques that actually work at home.

If you liked this recipe, air fryer chicken drumsticks use the same two-step method and are ready in about the same time. For a complete game-day spread, the all recipes page has quick air fryer appetizers, sides, and mains that pair naturally with wings. Every recipe on Hearthlyrecipes is tested for consistency, so you’re not guessing at timing or ratios. Browse the full collection and find your next crowd-pleaser.
Sources
- Bon Appétit
- Taste of Home
- Air-Fryer Buffalo Wings Recipe
- Buffalo chicken wing sauce
- Air Fryer Chicken Wings (Super Crispy) - Wholesome Yum
FAQ
How long do you air fry chicken wings?
Fresh, thawed wings take 22–30 minutes total using the two-step method (12 minutes at 380°F, then 10–15 minutes at 400°F). Frozen wings need 30–35 minutes with more frequent shaking.
How do you keep air fryer wings crispy?
Pat wings completely dry before cooking, use a baking-powder coating, and toss in sauce only after a 3-minute rest. Crowding the basket is the most common reason wings go soft.
Can you put raw chicken wings in an air fryer?
Yes. Raw wings go straight into the preheated air fryer basket. They must reach an internal temperature of 165°F before serving, confirmed with an instant-read thermometer.
Should I season my wings before air frying?
Season before cooking. Toss wings in the dry rub (baking powder, salt, spices) before they go into the air fryer so the coating adheres and crisps during cooking. Wet sauces like buffalo or honey-garlic are added after cooking.