Easy Gluten Free Banana Bread Recipes That Always Work
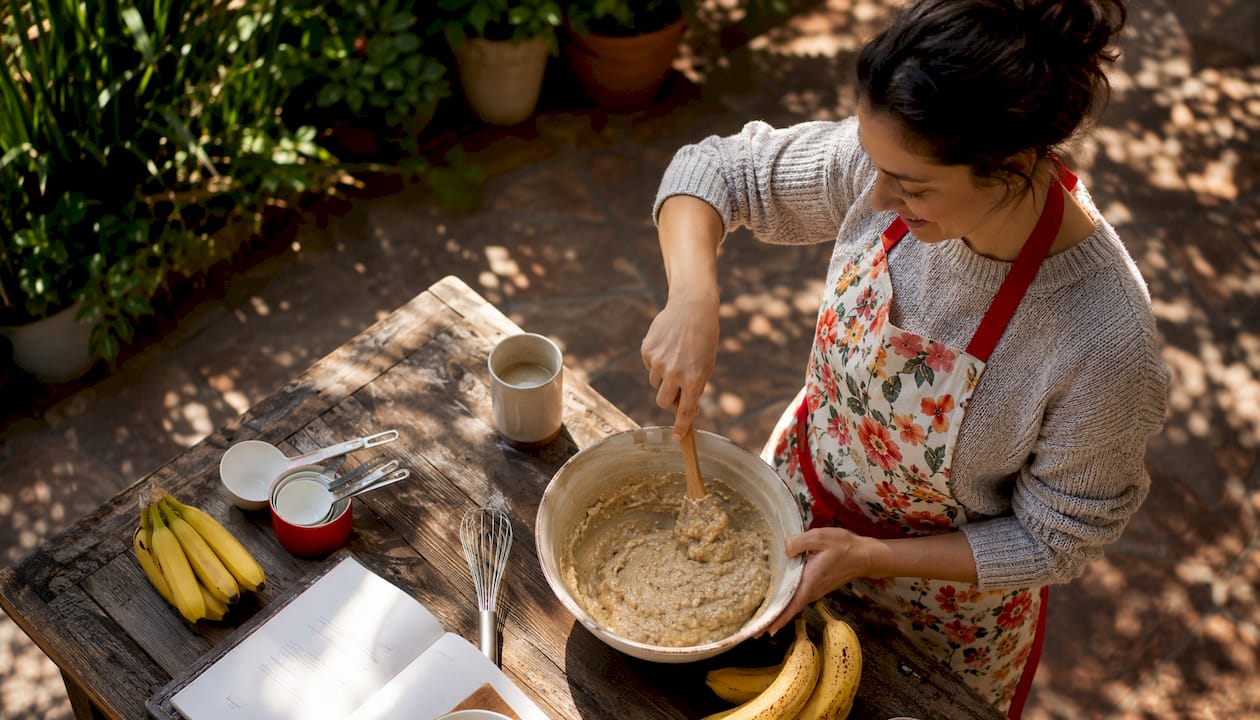
The best gluten-free banana bread recipe you can make today
These gluten free banana bread recipes deliver a tender, flavorful loaf every single time, and the method is genuinely simple. You need one bowl, pantry staples, and about an hour. Here is the core recipe at a glance:
Ingredients:
- gluten-free all-purpose flour with xanthan gum (such as King Arthur Measure for Measure or Bob’s Red Mill)
- almond flour
- baking powder
- baking soda
- kosher salt
- unsalted butter or shortening, melted
- granulated sugar
- large eggs
- vanilla extract
- milk (any kind)
- mashed very ripe banana
- optional mix-ins: chocolate chips, chopped walnuts, blueberries, or coconut flakes
Baking overview:
- Preheat oven to a moderate temperature; grease a loaf pan
- Whisk dry ingredients in one bowl; mix wet ingredients separately
- Combine wet and dry, fold in mix-ins, pour into pan
- Bake until a toothpick comes out clean
- Cool completely on a wire rack before slicing
The texture lands somewhere between a bakery quick bread and a classic homemade loaf: tender crumb, golden crust, and full banana flavor. No mixer required if you use melted butter or shortening.
What ingredients you actually need, and which flours work best
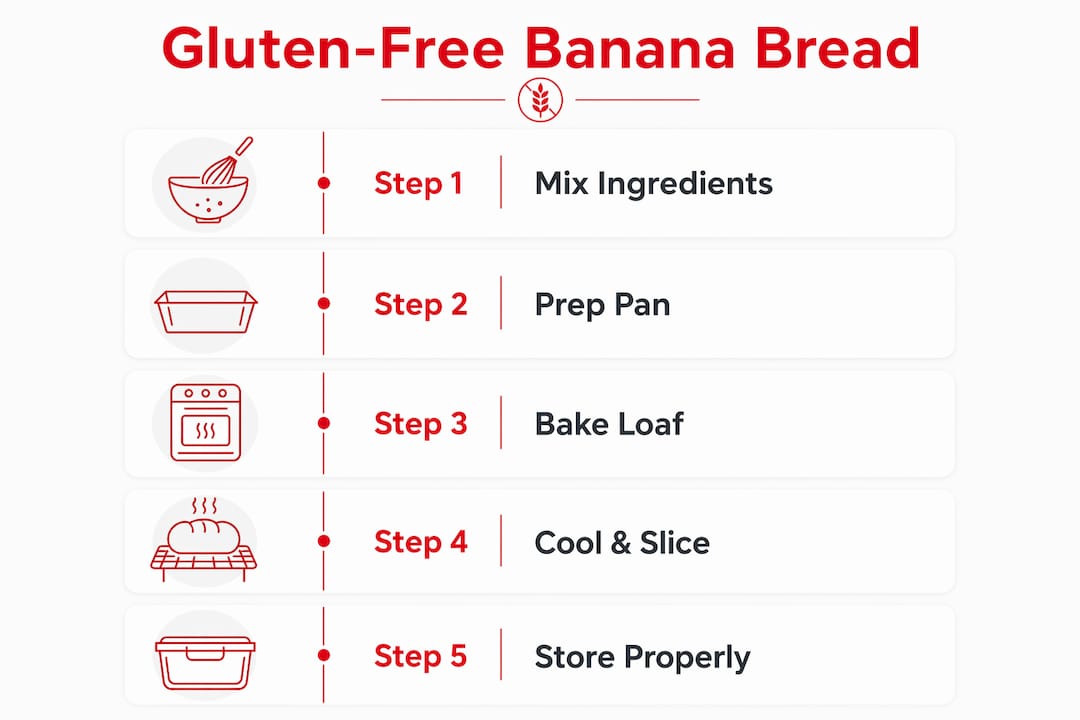
The right flour choice makes or breaks banana bread without gluten. A pre-mixed gluten-free blend with xanthan gum already included is the easiest path for home bakers. King Arthur Measure for Measure and Bob’s Red Mill 1-to-1 are two widely available options that perform reliably. If you prefer to build your own blend, stir together 1 cup oat flour, 1 cup white rice flour, ¼ cup tapioca starch, and ½ tsp xanthan gum as a direct substitute.
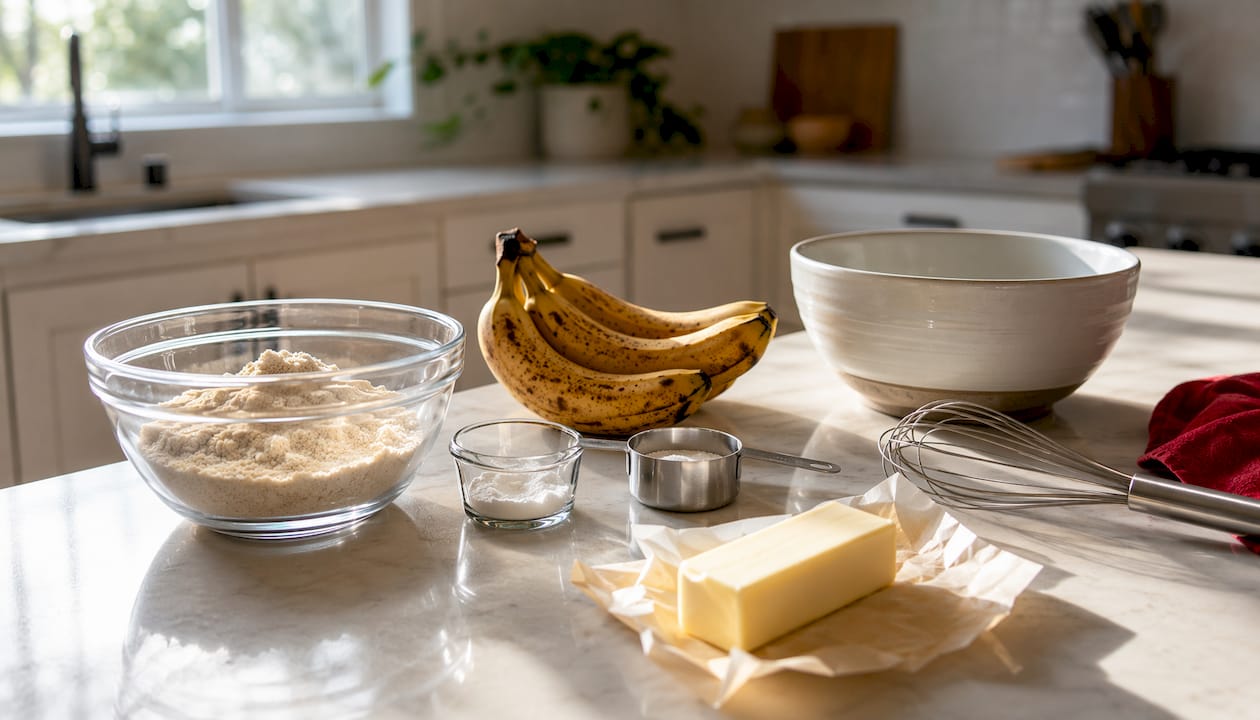
Adding a half cup of almond flour alongside your main blend improves browning and gives the crumb a slightly richer texture. Recipes that skip extra starches and gums and rely on common flours are more accessible and still produce excellent results.
Key ingredients and their roles:
- Gluten-free flour blend with xanthan gum: provides structure; xanthan gum replaces the binding role of gluten
- Almond flour: adds tenderness and helps the crust brown; swap for extra GF flour to make it nut-free
- Very ripe bananas: the darker and spottier, the sweeter and more flavorful; measure out exactly 1 cup mashed
- Eggs: bind the batter and add moisture; see vegan swaps below
- Butter or shortening: shortening gives a slightly lighter crumb; coconut oil works for dairy-free baking
- Baking powder and baking soda: both are needed to keep the loaf light without gluten’s structural support
- Milk (any kind): a few tablespoons add extra moisture; oat milk or almond milk work perfectly
Common allergen substitutions:
- Dairy-free: use coconut oil or a dairy-free butter alternative; swap regular milk for oat milk or almond milk
- Nut-free: replace almond flour with an equal amount of gluten-free measure-for-measure flour; use regular or oat milk instead of almond milk
- Egg-free: flax eggs (1 tbsp ground flaxseed plus 3 tbsp water per egg, rested 5 minutes) work, though the loaf will be denser
Step-by-step baking instructions for a perfect loaf
Many top recipes are designed as one-bowl methods that need no electric mixer, which makes the process genuinely beginner-friendly.
- Preheat and prep. Set your oven to 350°F. Grease a 9x5-inch loaf pan with cooking spray and line it with parchment paper, leaving overhang on the long sides for easy removal.
- Whisk the dry ingredients. In a medium bowl, whisk together the gluten-free flour, almond flour, baking powder, baking soda, and salt until evenly combined.
- Mash and measure the bananas. Mash very ripe bananas with a fork, then measure out exactly 1 cup by volume or weight (230g). Too much banana creates a gummy center; too little makes the loaf dry.
- Mix the wet ingredients. In a large bowl, whisk together the mashed banana, melted butter, sugar, eggs, vanilla, and milk until smooth and well combined.
- Combine wet and dry. Add the dry ingredients to the wet bowl in two additions, stirring gently between each. Mix until the batter is smooth and slightly thickened, about 1 minute. Avoid overmixing.
- Fold in mix-ins. Use a rubber spatula to fold in chocolate chips, nuts, or any other additions.
- Pour and score. Scrape the batter into the prepared pan and smooth the top. Run a greased paring knife lengthwise down the center of the batter. This shallow cut encourages a clean, even rise instead of random cracking.
- Bake. Place on the center rack and bake for 50–60 minutes. The loaf is done when a toothpick inserted in the center comes out clean, or an instant-read thermometer reads 190°F.
- Cool in the pan. Let the loaf rest in the pan for 10 minutes, then transfer to a wire rack.
- Cool completely before slicing. Gluten-free breads need this step to set their structure. Slicing too early causes crumbling and a gummy texture.
Tips, variants, and ways to customize your loaf
Getting a great result is mostly about a few small decisions made before the batter hits the pan.
Troubleshooting common problems:
- Gummy center: almost always caused by too much banana or undertaking. Measure bananas precisely and verify doneness with a thermometer.
- Dense, flat loaf: check that your baking powder and baking soda are fresh; gluten-free batters rely heavily on chemical leavening.
- Crumbly texture: the loaf was sliced before it cooled fully, or the flour blend lacked xanthan gum. Add ¼ tsp xanthan gum if your blend does not include it.
- Pale crust: almond flour helps browning; if you skipped it, a light sprinkle of raw sugar on top before baking adds color.
Dietary variants:
- Vegan: use flax eggs, dairy-free butter, and plant-based milk; expect a denser crumb
- Dairy-free: shortening is naturally dairy-free; coconut oil is another clean swap
- Lower sugar: reduce granulated sugar to ½ cup and rely on very ripe bananas for sweetness
Mix-in ideas (up to ½ cup per loaf):
- Mini chocolate chips (distribute more evenly than full-size chips in thick batter)
- Chopped walnuts or pecans
- Fresh or frozen blueberries
- Coconut flakes
- 1 tsp cinnamon plus ½ tsp nutmeg stirred into the dry ingredients
Pro Tip: Use room-temperature eggs and milk. Cold ingredients straight from the fridge can cause melted butter to seize into small lumps in the batter, which affects the final crumb. Pull them out 30 minutes before you start.
Explore more gluten-free baking ideas at Hearthlyrecipes for additional tested recipes that follow the same reliable approach.
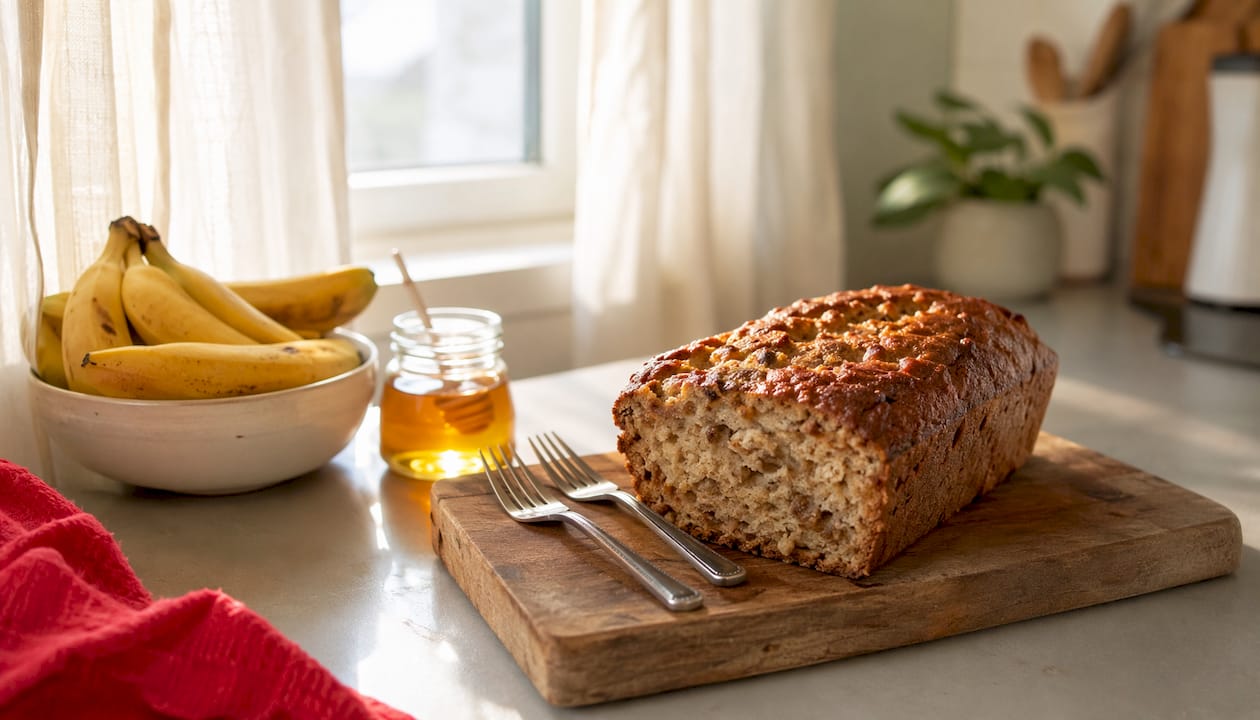
How to store gluten-free banana bread and keep it fresh
Cooling the loaf completely before wrapping it is the first rule of storage. Sealing a warm loaf traps steam and turns the crust soft and sticky.
Storage methods:
- Room temperature: wrap tightly in plastic wrap or store in an airtight container for up to 2–3 days
- Refrigerator: keeps well for up to 1 week; the cold firms the crumb, so let slices come to room temperature or warm them briefly before eating
- Freezer: wrap the whole loaf or individual slices in plastic wrap, then place in a zip-top freezer bag; stores well for up to 1 month
Reheating tips:
- Warm individual slices in a toaster or toaster oven for 2–3 minutes to restore a slightly crisp crust
- Reheat a whole loaf in a 300°F oven, loosely covered with foil, for about 15 minutes
- Avoid the microwave for more than 20 seconds; it makes gluten-free bread rubbery
Gluten-free quick breads tend to dry out faster than wheat-based ones, so the freezer is genuinely the best long-term option. Slice before freezing so you can pull out exactly what you need.
Understanding gluten-free baking basics for banana bread success
Gluten-free banana bread is one of the most forgiving baked goods you can make. Flour contributes less than half of the bread’s structure; the bananas, eggs, and fat carry most of the load. That means small flour measurement errors matter far less here than they would in a lean bread dough.
Leavening is where gluten-free baking requires the most attention. Without gluten’s elastic network to trap gas bubbles, baking soda and baking powder work together to create lift and keep the crumb open. Using both is not redundant; each activates under different conditions, and together they produce a lighter loaf than either alone.
Key principles for consistent results:
- Measure bananas by weight when possible. A kitchen scale reading of 230g is more reliable than eyeballing “about 1 cup,” especially since banana density varies with ripeness.
- Use the spoon-and-level method for flour. Spoon flour into the measuring cup, then sweep the top level with a knife. Scooping directly from the bag packs in 20–30% more flour and dries out the loaf.
- Let the batter rest 5 minutes before baking. Gluten-free flours absorb liquid more slowly than wheat flour; a short rest lets the batter hydrate fully and thicken slightly.
- Cool completely before slicing (2–3 hours, or overnight). The structure of a gluten-free loaf continues to set as it cools. Cutting in early is the single most common reason for a crumbly result.
- Choose a flour blend with xanthan gum already included. It mimics gluten’s binding role and prevents the loaf from falling apart.
Gluten-free baking has a reputation for being tricky, but banana bread specifically sidesteps most of those challenges because the fruit itself provides so much moisture and binding power.
Nutritional information for gluten-free banana bread
Nutritional values vary depending on the flour blend, fat source, and any mix-ins you use. The figures below reflect a standard loaf made with gluten-free all-purpose flour, butter, eggs, and no mix-ins, cut into 10 slices.
| Nutrient | Per slice (approx.) |
|---|---|
| Calories | 190 kcal |
| Total fat | 8–10g |
| Saturated fat | 4–5g |
| Carbohydrates | — |
| Sugars | — |
| Protein | 3–4g |
| Fiber | 1–2g |
| Sodium | — |
Swapping butter for coconut oil keeps saturated fat similar but removes dairy. Adding walnuts increases fat and protein while adding omega-3s. Using almond flour in the blend raises protein and healthy fat compared to an all-rice-flour base. For precise tracking, enter your specific brands and quantities into a nutrition calculator like Cronometer or the USDA FoodData Central database.
What equipment makes gluten-free baking easier
You do not need specialized gear, but a few tools make a real difference in consistency.
The short list of genuinely useful equipment:
- Kitchen scale: weighing bananas and flour removes the biggest source of variability in gluten-free baking. A basic digital scale costs under $15 and pays for itself in consistent results.
- 9x5-inch metal loaf pan: metal conducts heat more evenly than glass or ceramic, which helps the center bake through without overbrowning the crust. Glass pans often require an extra 5–10 minutes of bake time.
- Parchment paper: line the pan with a parchment sling for clean removal every time. Gluten-free loaves can stick more than wheat-based ones.
- Instant-read thermometer: a center temperature of 190°F is a more reliable doneness check than the toothpick test alone, especially for dense or very ripe-banana batters.
- Rubber spatula: essential for folding mix-ins without deflating the batter and for scraping every bit of batter into the pan.
- Wire cooling rack: elevates the loaf so air circulates underneath, preventing a soggy bottom as it cools.
A stand mixer or hand mixer is optional. Most banana bread without gluten comes together perfectly with just a whisk and a spatula, since overmixing is actually a risk with gluten-free batters.
If you enjoy baking beyond quick breads, Hearthlyrecipes has a full collection of bread and baking recipes worth bookmarking.
Hearthlyrecipes has tested recipes for every craving, from sweet comfort bakes to weeknight dinners. Browse the full recipe collection to find your next favorite.
Key Takeaways
Gluten-free banana bread succeeds because bananas, eggs, and fat carry most of the structure, making flour choice and precise measurement the two variables that matter most.
| Point | Details |
|---|---|
| Measure bananas precisely | Use exactly 1 cup (230g) mashed banana; too much causes gummy texture, too little dries the loaf. |
| Use a blend with xanthan gum | A quality pre-mixed flour like King Arthur or Bob’s Red Mill simplifies baking and gives reliable results. |
| Both leaveners are needed | Baking soda and baking powder work together to create lift without gluten’s structural support. |
| Cool completely before slicing | Wait 2–3 hours after baking; cutting early is the leading cause of crumbling in gluten-free loaves. |
| Score the batter before baking | A greased knife run down the center produces a clean, even rise instead of random crust cracking. |
FAQ
Can I make gluten-free banana bread without xanthan gum?
Yes, but the loaf will be more crumbly. If your flour blend lacks xanthan gum, add ¼ tsp directly to the dry ingredients to restore binding.
How ripe should bananas be for the best flavor?
Use bananas that are heavily speckled or fully brown. At that stage, starches have converted to sugar, which produces a sweeter, more intensely flavored loaf.
Why did my gluten-free banana bread turn out gummy?
A gummy center usually means too much banana, underbaking, or slicing before the loaf cooled fully. Measure bananas to exactly 1 cup (230g) and confirm doneness with an instant-read thermometer reading of 190°F.
Can I freeze gluten-free banana bread?
Yes. Wrap slices individually in plastic wrap, place in a freezer bag, and freeze for up to 1 month. Reheat in a toaster or 300°F oven for best texture.
What is the best gluten-free flour for banana bread?
A measure-for-measure blend that already contains xanthan gum, such as King Arthur Measure for Measure or Bob’s Red Mill 1-to-1, works best for most home bakers and requires no additional adjustments to the recipe.