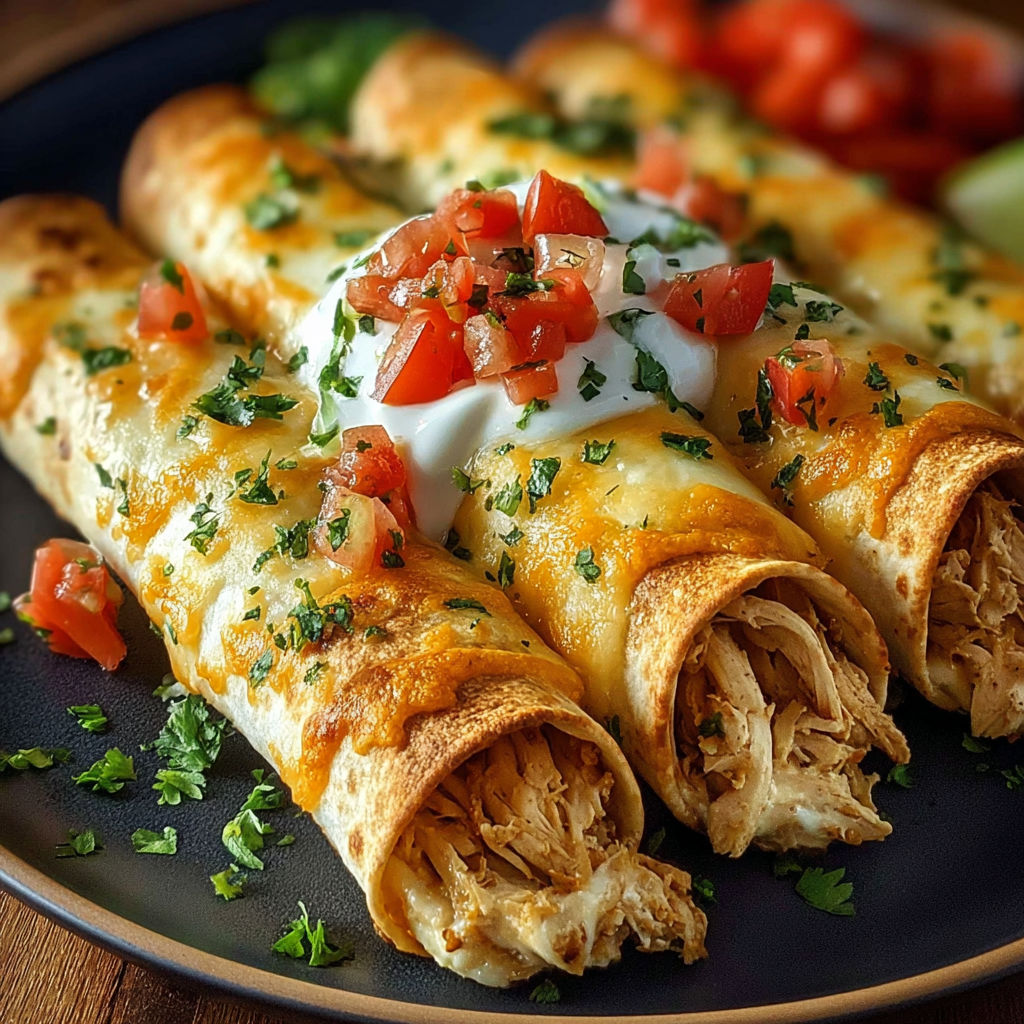
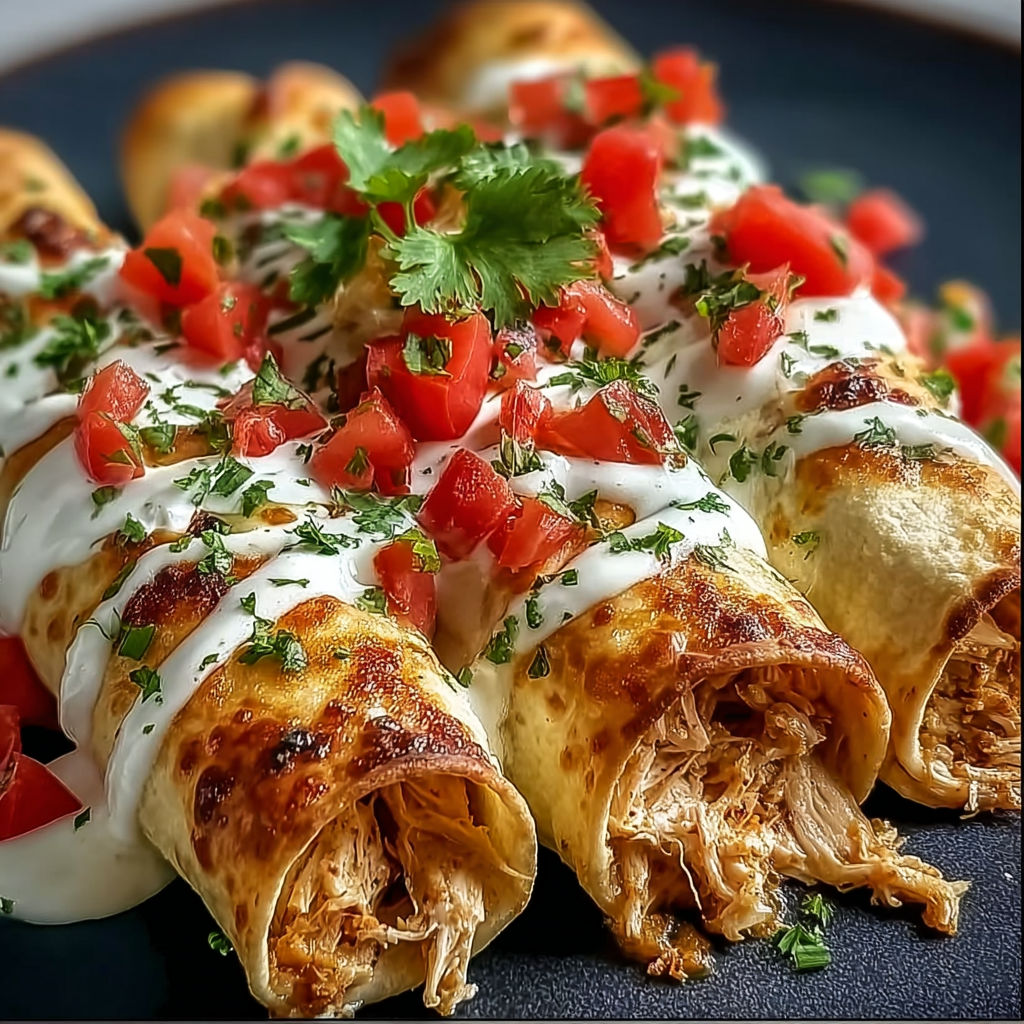
Baked Cream Cheese Chicken Taquitos
Home cooks adore these Baked Cream Cheese Chicken Taquitos for their irresistible combination of crispy edges and gooey, savory centers. Perfect for casual weeknight dinners or impressing guests at game-day parties, these taquitos deliver that restaurant-quality flavor without the fuss. The creamy chicken and cheese filling is balanced by the bright zing of salsa, making every bite feel like a celebration. Plus, they're easy to customize with your favorite toppings!
What Makes This Recipe Special
- The secret weapon is softened cream cheese-it blends seamlessly into the filling, creating a rich, velvety texture that's far more indulgent than traditional taquito fillings.
- Using both cheddar cheese and salsa in the filling adds layers of flavor: cheddar for sharpness and salsa for a subtle tang that cuts through the creaminess.
- Rolling taquitos tightly and placing them seam-side down ensures they hold their shape during baking and develop an even, golden crust.
- A light brushing of olive oil or spray just before baking mimics the crispness of frying without the mess or extra calories.
Ingredients
2 cupscooked chicken, shredded
4 ouncescream cheese, softened
1 cupcheddar cheese, shredded
1/2 cupsalsa
1 teaspoongarlic powder
1 teaspoononion powder
1 teaspoonground cumin
Salt, to taste
Black pepper, to taste
10 smallflour or corn tortillas
Olive oil or cooking spray
Nutrition
500 caloriesCalories
Per serving · Values are estimates
Instructions
1
Preheat oven to 425°F. Line a baking sheet with parchment paper.
2
Combine shredded chicken, cream cheese, cheddar cheese, salsa, garlic powder, onion powder, cumin, salt, and black pepper in a large bowl. Stir until fully blended and smooth.
3
Place 2 to 3 tablespoons of the filling on each tortilla and roll each tightly. Arrange seam-side down on the prepared baking sheet.
4
Lightly brush or spray tops of taquitos with olive oil or cooking spray. Bake for 15 to 18 minutes until golden and crisp.
5
Serve hot with sour cream, guacamole, or additional salsa for dipping if desired.
Essential Tips
Prevent soggy tortillas
Warm your tortillas for 20 seconds in a dry skillet or microwave them wrapped in a damp towel before rolling. This makes them pliable and less likely to tear when folded.
Even filling distribution
Use a small cookie scoop or spoon to portion the filling evenly. This ensures every taquito has the same amount of creamy goodness and avoids overstuffing, which can cause leaks.
Seal the deal
After rolling, use a bit of water or egg wash on the tortilla edge to help the seam stick. This keeps the filling contained and prevents unraveling during baking.
Oven rack position
Place the baking sheet on the middle rack to ensure even heat circulation. If your oven runs hot, reduce the baking time by 1-2 minutes to avoid burning.
Check for doneness
Look for a deep golden color on the bottoms and sides. If they're browning too quickly, tent the pan with foil for the last few minutes of baking.
Smart Swaps & Variations
Spicy Chipotle
Swap the salsa for 1/4 cup chipotle in adobo sauce mixed with 1/4 cup Greek yogurt for a smoky, spicy kick that pairs perfectly with the cheddar.
Low-Carb
Use large lettuce leaves or low-carb tortillas (like almond flour wraps) instead of flour or corn tortillas to cut carbs while keeping the filling the same.
Vegetarian
Replace the chicken with 2 cups of sautéed bell peppers, mushrooms, and black beans. Add 1 teaspoon of smoked paprika to the filling for depth.
Buffalo Chicken
Mix the shredded chicken with 1/4 cup buffalo sauce before combining it with the cream cheese. Top baked taquitos with crumbled blue cheese and a drizzle of ranch.
What to Serve With This
- A dollop of sour cream and a side of pickled red onions for a cool, tangy contrast to the crispy taquitos.
- Guacamole and lime wedges for a fresh, creamy dip that complements the cheesy filling.
- A crisp Mexican lager or a refreshing agua fresca made with hibiscus and lime for a festive pairing.
- A simple green salad with avocado, cherry tomatoes, and a lime vinaigrette to balance the richness of the taquitos.
Storage & Reheating
Storage
Store baked taquitos in an airtight container in the fridge for up to 4 days. Let them cool completely before stacking to prevent steam from making them soggy.
Reheating
Reheat in a skillet over medium heat for 2-3 minutes on each side until crispy. Alternatively, air-fry at 350°F for 4-5 minutes for the best texture revival.
Expert Chef Tips
- Toast the tortillas lightly in a dry skillet before rolling to enhance their nutty flavor and make them more resistant to moisture from the filling.
- For extra crispiness, sprinkle a thin layer of shredded cheese on the parchment paper before arranging the taquitos. The cheese will melt and fuse to the bottom, creating a cheesy crust.
- Make a double batch of the filling and freeze half in a zip-top bag for up to 3 months. Thaw overnight in the fridge before rolling and baking for a quick meal later.
Equipment You’ll Need
- Mixing bowls (for combining filling ingredients)
- Baking sheet (with parchment paper for easy cleanup)
- Pastry brush or spray bottle (for oil application)
- Small cookie scoop or spoon (for even filling distribution)
Nutritional Benefits
- Each taquito provides 500 calories, with 25g of protein to keep you full and satisfied.
- The recipe is naturally gluten-free if you use corn tortillas, making it a great option for those avoiding gluten.
- Using Greek yogurt in place of some cream cheese can reduce saturated fat while maintaining creaminess.
- The salsa adds antioxidants from tomatoes and peppers, while the lean chicken provides essential amino acids.
Reviews
No written reviews yet — be the first to cook this and share how it turned out!
Leave a Review
Frequently Asked Questions
Can I use pre-cooked rotisserie chicken?
Absolutely! Shredded rotisserie chicken works perfectly and saves time. Just make sure it's cooled before mixing with the other ingredients to avoid making the filling too wet.
How do I prevent the taquitos from unrolling while baking?
Double-check that the seam is sealed well before baking. You can also place a toothpick through the seam to hold it in place, but remove it before serving for safety.
Can I freeze these before baking?
Yes! Arrange the rolled taquitos on a parchment-lined tray, freeze until solid (about 1 hour), then transfer to a freezer bag. Bake from frozen, adding 3-5 extra minutes to the baking time.
What's the best way to reheat frozen taquitos?
Bake them straight from frozen at 400°F for 20-25 minutes, or air-fry at 375°F for 12-15 minutes, flipping halfway. This ensures they're heated through without becoming rubbery.
Can I use Greek yogurt instead of cream cheese?
While Greek yogurt can work, it's thinner and tangier. If you substitute, reduce the salsa by half to balance the acidity and add 1 tablespoon of cornstarch to the filling to help thicken it.
Why are my taquitos dry after baking?
Overbaking is the most likely culprit. Check them at 15 minutes and pull them out as soon as they're golden brown. Also, ensure your chicken isn't dry-using moist shredded chicken is key.
Can I make these ahead of time and bake later?
Yes! Assemble the taquitos up to the baking step, then refrigerate for up to 24 hours. Add 2-3 extra minutes to the baking time when cooking from chilled.
What's the best cheese to use for a melty texture?
A blend of cheddar and Monterey Jack works best for a smooth, gooey melt. Avoid pre-shredded cheese with anti-caking agents, as they won't melt as evenly.
More Dinner Victories
🔒 From the Vault — 43,000+ premium recipes

Cook This Next