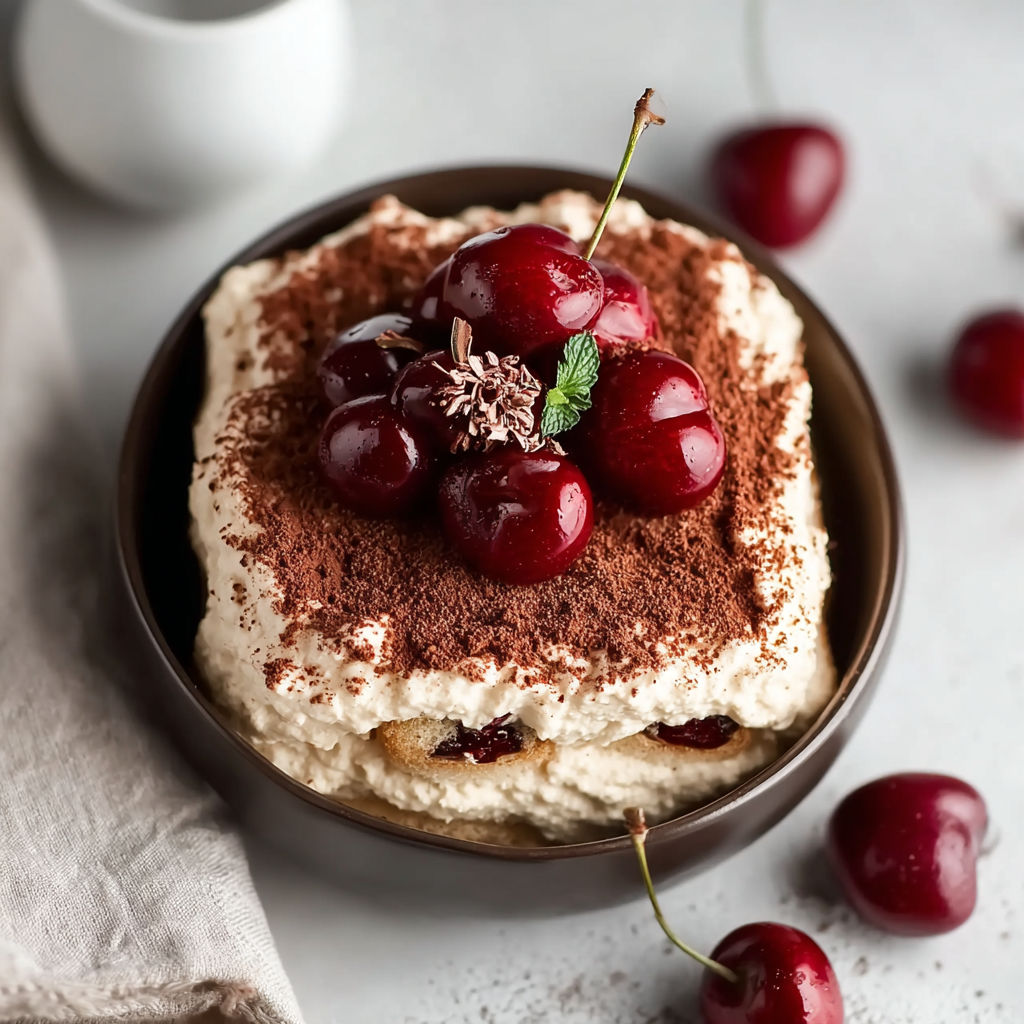
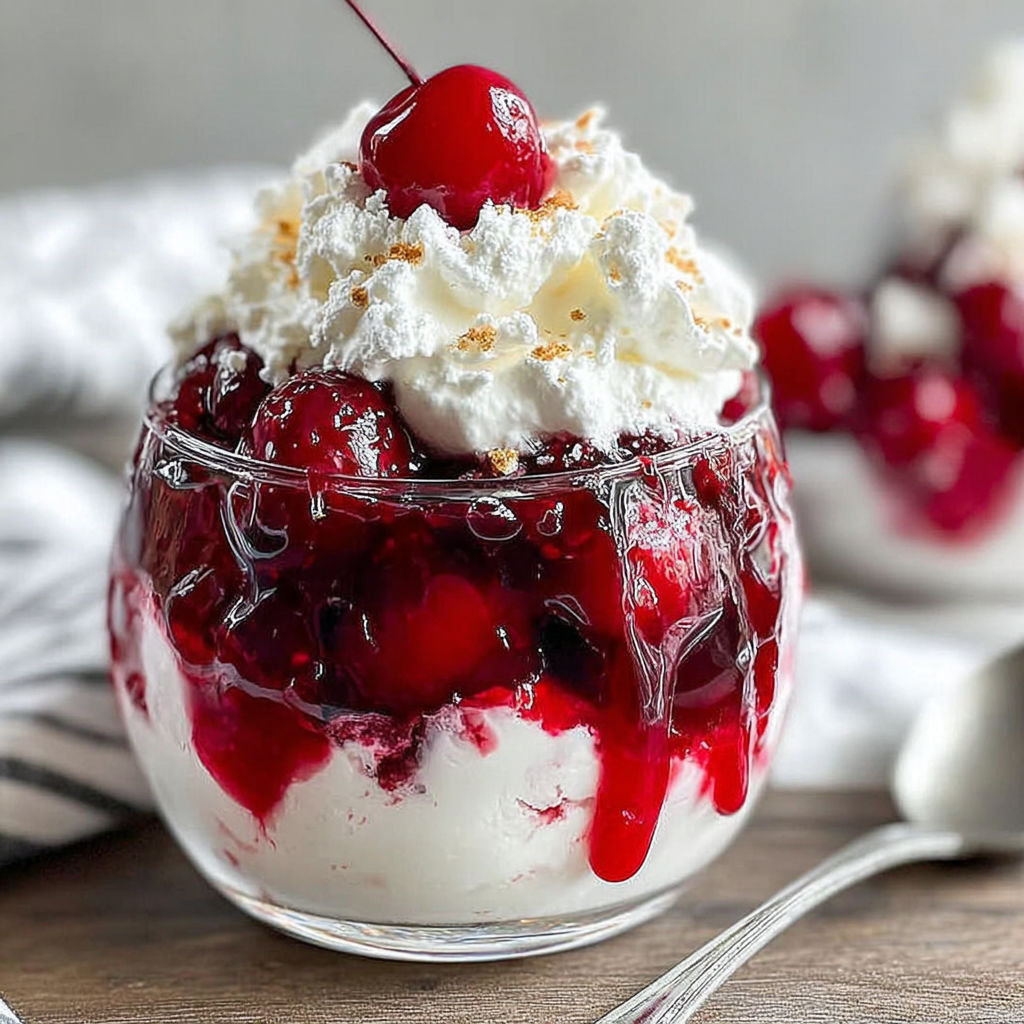
Cherries in the Snow Dessert
Home cooks adore this nostalgic dessert for its creamy dreaminess and vibrant cherry topping-perfect for holiday gatherings, potlucks, or cozy weeknight treats. The contrast of tender cake cubes, tangy cherry filling, and luscious cream cheese layers makes it irresistibly comforting, while its simplicity means you can prep it ahead without stress. Whether you're feeding a crowd or just satisfying a sweet tooth, this no-bake masterpiece delivers effortless elegance.
What Makes This Recipe Special
- Uses store-bought shortcuts (cherry pie filling, whipped topping) without sacrificing homemade charm, making it a lifesaver for busy entertainers.
- Layered texture-cake cubes soak up the cherry syrup while the cream cheese mixture stays light and fluffy, creating a perfect balance in every bite.
- Customizable with different cake types (pound cake for richness, angel food for a lighter touch) or fruit fillings (blueberry, strawberry) for variety.
- Serves 8-10 generously, making it ideal for large groups or potlucks where you want big flavors without complex techniques.
Ingredients
8 ouncescream cheese, softened
1 cuppowdered sugar
0.5 teaspoonvanilla extract
8 ounceswhipped topping, thawed
1 loafpound cake or angel food cake, cut into cubes
21 ouncescherry pie filling
Nutrition
430 caloriesCalories
Per serving · Values are estimates
Instructions
1
In a large mixing bowl, beat the softened cream cheese until smooth. Add the powdered sugar and vanilla extract, and blend until creamy. Carefully fold in the whipped topping until fully combined.
2
Arrange a layer of cake cubes evenly in the bottom of a 9x13 inch baking dish or suitable trifle bowl.
3
Spoon half of the prepared cream cheese mixture over the cake layer and spread evenly with a spatula.
4
Distribute half of the cherry pie filling over the cream cheese layer.
5
Add a second layer of cake cubes, then spread the remaining cream cheese mixture on top. Finish by topping with the remaining cherry pie filling.
6
Scoop into individual bowls or cut into squares to serve. Garnish each portion with additional whipped topping if desired.
Essential Tips
Cake prep trick
For extra-tender cake cubes, lightly toast them in a dry skillet for 2-3 minutes before assembling. This prevents sogginess from the cherry syrup and adds a subtle caramelized flavor.
Layering order
Press the cake cubes firmly into the dish to create a stable base. This prevents shifting when you add the cream cheese mixture and ensures clean slices when serving.
Chill time
Let the dessert set in the fridge for at least 2 hours (or up to overnight) before serving. This allows the flavors to meld and the cake to absorb the cherry syrup fully.
Whipped topping tip
If your whipped topping is grainy, fold in 1-2 tablespoons of cold heavy cream before spreading it over the cream cheese layer. This smooths out the texture and makes it easier to layer.
Cherry syrup hack
Before spooning the cherry pie filling over the cream cheese, let it sit at room temperature for 10 minutes. This thins the syrup slightly, helping it distribute more evenly for a glossy finish.
Smart Swaps & Variations
Boozy twist
Stir 2 tablespoons of cherry brandy or amaretto into the cherry pie filling before layering for a sophisticated adult-friendly version.
Lightened up
Swap half the cream cheese for Greek yogurt and use light whipped topping to cut the calories while keeping the texture creamy.
Fruit swaps
Replace the cherry pie filling with blueberry or strawberry pie filling for a seasonal twist, or mix in fresh berries for a brighter flavor.
Crunchy top
Sprinkle 1/2 cup of toasted slivered almonds or crushed graham crackers over the final layer before chilling for added texture contrast.
What to Serve With This
- Vanilla ice cream or whipped cream for an extra-indulgent treat.
- A sprinkle of powdered sugar and a few fresh cherries for a restaurant-worthy presentation.
- Warm cinnamon-spiced cider or cold milk to balance the sweetness.
- Crumbled shortbread cookies on the side for dipping into the cherry syrup.
Storage & Reheating
Storage
Store covered in the refrigerator for up to 3 days. The cake will absorb more syrup over time, so it's best enjoyed within this window for optimal texture.
Reheating
Serve chilled straight from the fridge-this dessert isn't meant to be reheated. If you prefer it slightly warmer, microwave individual portions for 10-15 seconds, but be aware the cake may soften slightly.
Expert Chef Tips
- To prevent the cream cheese mixture from separating, ensure your cream cheese is fully softened before beating. Cold cream cheese will seize up and create lumps.
- For a cleaner slice, dip your knife in hot water and wipe it dry between cuts. This helps glide through the layers without dragging the cake cubes.
- If using a trifle bowl, alternate the layers in a spiral pattern (cake, cream cheese, cherries) for a visually stunning presentation that's easy to serve.
Equipment You’ll Need
- 9x13-inch baking dish or trifle bowl
- Large mixing bowl
- Electric mixer (hand or stand)
- Spatula
- Knife and cutting board
Nutritional Benefits
- High in calcium and protein from the cream cheese and whipped topping, supporting bone health and satiety.
- Contains natural sugars from the cherry pie filling, providing antioxidants like vitamin C and anthocyanins.
- Moderate calorie count (430 per serving) but rich in flavor, making it a satisfying portion-controlled treat.
- Gluten-free option available by using a certified gluten-free cake, accommodating dietary restrictions without sacrificing taste.
Reviews
No written reviews yet — be the first to cook this and share how it turned out!
Leave a Review
Frequently Asked Questions
Can I use fresh cherries instead of pie filling?
Fresh cherries work but require extra prep: pit and halve 4 cups of cherries, then simmer them with 1/4 cup sugar and 1 tablespoon lemon juice until syrupy (about 10 minutes). This mimics the consistency of pie filling and prevents a watery dessert.
What's the best cake to use for this recipe?
Pound cake adds richness, while angel food cake keeps it light. For a gluten-free option, use a pre-made gluten-free pound cake or cubed gluten-free sponge cake.
Can I make this dessert ahead of time?
Absolutely! Assemble the layers up to 2 days ahead and store it covered in the fridge. The flavors will deepen over time, making it even more delicious.
How do I thicken the cream cheese layer if it's too runny?
If the cream cheese mixture is too loose, fold in an additional 1-2 ounces of whipped topping or a tablespoon of cornstarch to stabilize it before layering.
What's a good substitute for whipped topping?
Homemade whipped cream (3 cups heavy cream + 3 tablespoons powdered sugar + 1 teaspoon vanilla) works beautifully and tastes fresher. Avoid canned whipped topping if you prefer a less processed option.
Can I use a different fruit filling?
Yes! Blueberry, peach, or apple pie filling all work well. Adjust the sugar content if the filling is very tart-taste before layering and add 1-2 tablespoons of sugar if needed.
Why does my dessert look soupy after chilling?
This happens if the cake cubes are too large or the cherry filling is very thin. Use smaller cake cubes (about 1-inch) and drain excess syrup from the pie filling before assembling.
How do I serve this for a crowd without it drying out?
Cover the dish tightly with plastic wrap or foil until serving time. If transporting, use a lidded trifle bowl or casserole dish to keep the layers intact and moist.
More Sweet Comfort

🔒 From the Vault — 43,000+ premium recipes

Cook This Next