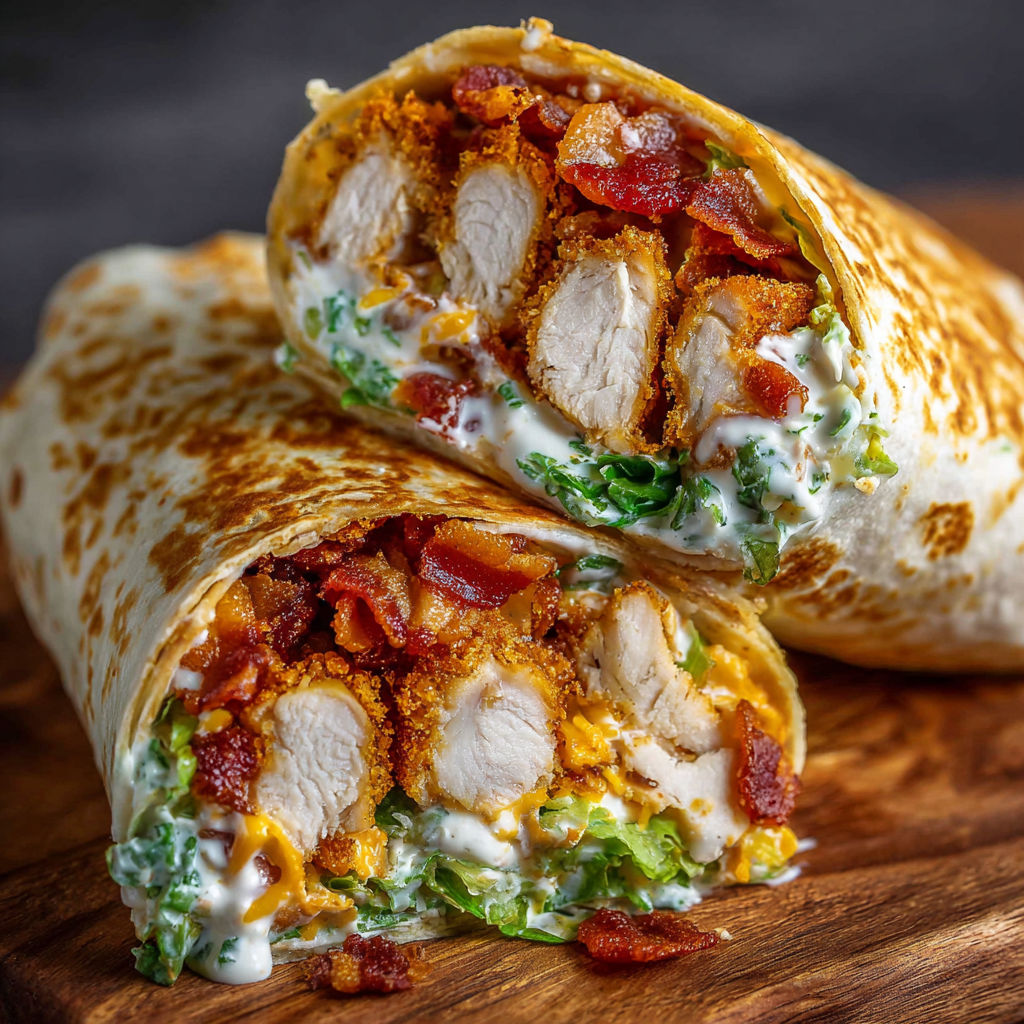
Homemade Crispy Bacon Ranch Wraps
There's something magical about wrapping up all the flavors of a loaded baked potato into a handheld delight-and these Crispy Bacon Ranch Wraps do just that! Home cooks love them for their irresistible combination of tender chicken, smoky crispy bacon, and cool ranch dressing tucked into a warm, golden tortilla. They're a crowd-pleaser for game-day gatherings, weeknight dinners, or even a fun lunchbox surprise. The best part? Every bite delivers that perfect balance of crunch, creaminess, and savory satisfaction.
What Makes This Recipe Special
- The ranch dressing isn't just a dip-it's the glue that binds the fillings and infuses the tortilla with flavor during baking, making each wrap taste like it was slow-marinated.
- Using pre-cooked chicken means no last-minute cooking stress, but shredding it finely ensures it melts into every bite without overpowering the wrap.
- The baking step is critical: it crisps the tortilla edges while melting the cheese just enough to create a gooey, handheld masterpiece, not a soggy one.
- Customizable fillings-like adding pickles or tomatoes-let you tailor the wraps to your family's tastes while keeping the core flavors consistent.
Ingredients
2 to3 cooked chicken breasts, sliced
4 to5 large flour tortillas
6 slicesbacon, cooked and crumbled
1 cupshredded cheddar cheese
1 cupshredded lettuce
1/2 cupranch dressing
Diced tomatoes
Diced pickles
Nutrition
702 caloriesCalories
Per serving · Values are estimates
Instructions
1
Set oven temperature to 375°F for even baking.
2
Lay each flour tortilla flat and evenly spread ranch dressing down the center.
3
Distribute sliced chicken, crumbled bacon, shredded cheddar cheese, and shredded lettuce over ranch dressing. Include diced tomatoes or pickles for added texture if desired.
4
Fold both sides of each tortilla inwards, then roll tightly to secure the fillings.
5
Arrange wraps seam-side down on a baking sheet. Bake for 10 to 12 minutes until tortillas are golden and cheese is melted.
6
Remove wraps from oven, slice each in half, and serve immediately for optimal taste and crunch.
Essential Tips
Chill the wraps before baking
Wrap the filled tortillas tightly and refrigerate for 10-15 minutes before baking. This prevents the tortillas from unrolling during baking and helps the cheese set more evenly.
Use room-temperature ranch
Let the ranch dressing sit out for 15 minutes before spreading it on the tortilla. Cold dressing can make the tortilla stiff and prone to cracking when rolled.
Crisp bacon just right
Cook bacon until it's deeply golden and slightly crispy, but not burnt. Overly burnt bacon can make the wraps bitter and dominate the other flavors.
Layer cheese strategically
Place the shredded cheese directly against the tortilla on the side opposite the ranch. This creates a melty, gooey barrier that keeps the wrap intact when sliced.
Double-wrap for extra sturdiness
For a heartier wrap, place a second tortilla over the filled one and roll both together. This creates a thicker, more durable wrap that's easier to hold-especially for kids.
Smart Swaps & Variations
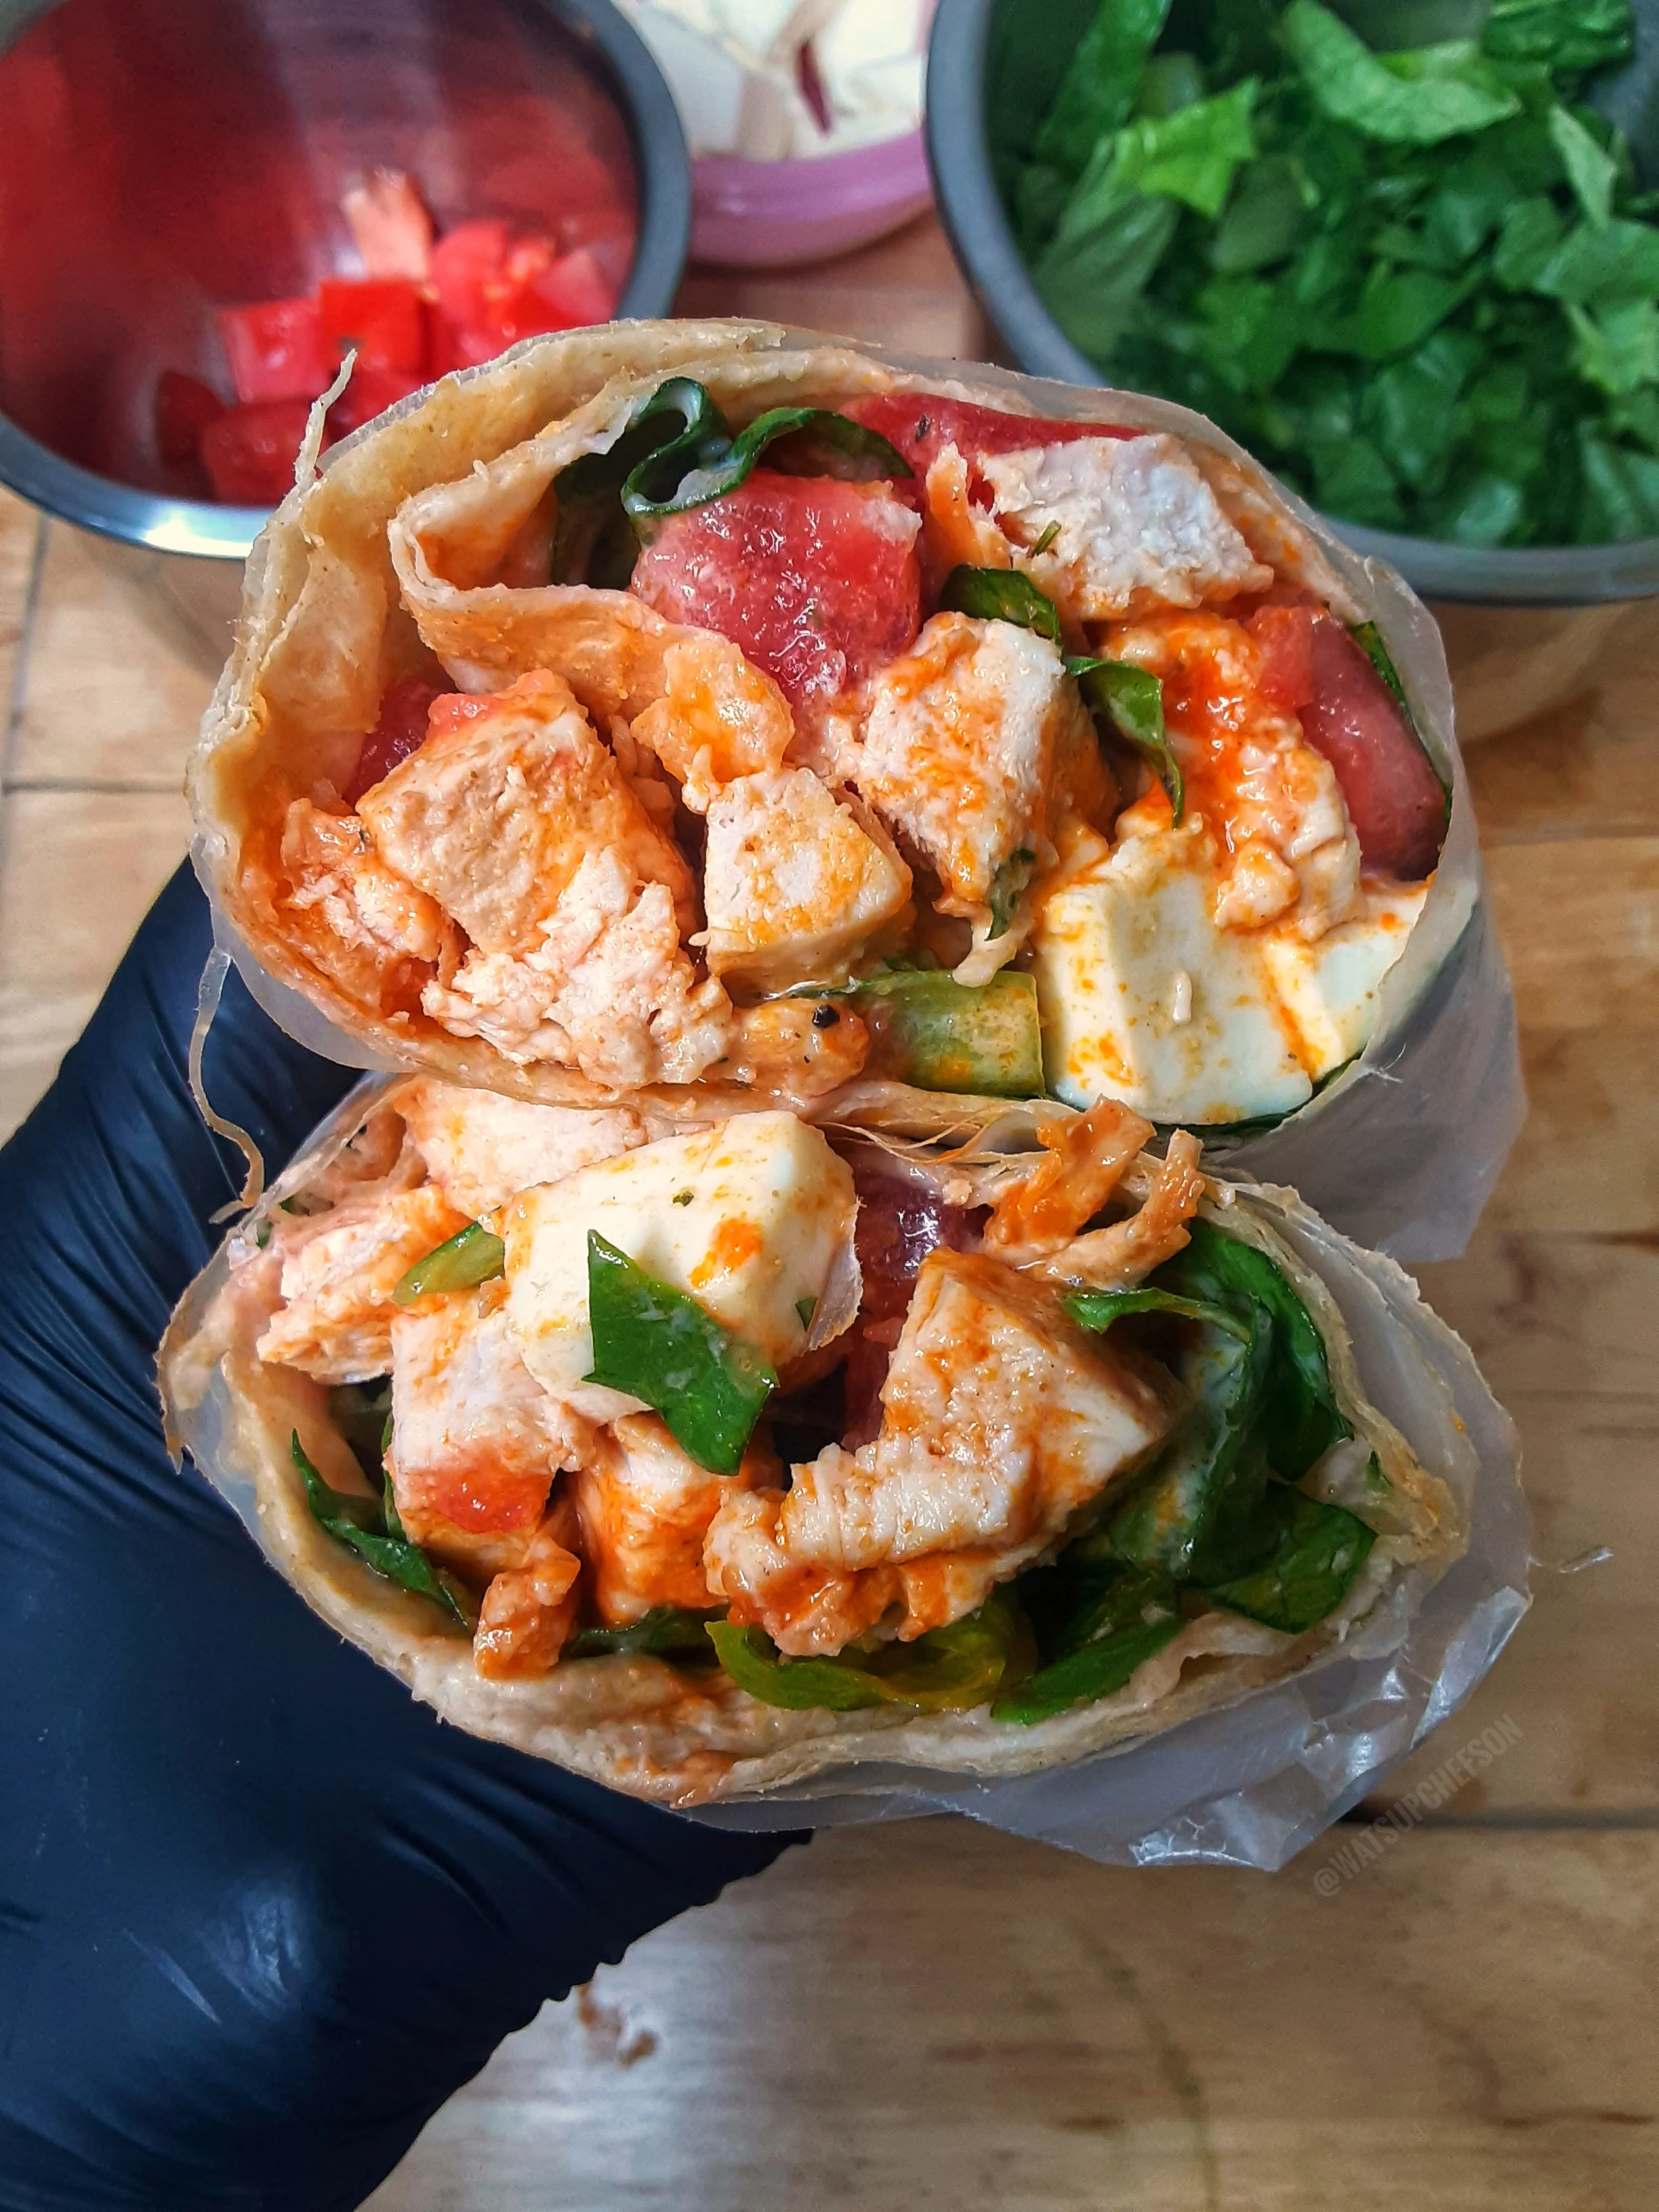
Buffalo Chicken Wraps
Swap ranch for buffalo sauce and add crumbled blue cheese or a drizzle of ranch on top after baking for a spicy, tangy twist.
BBQ Pulled Pork Wraps
Replace chicken with slow-cooked pulled pork and ranch with barbecue sauce. Top with pickled red onions for a smoky-sweet version.
Vegetarian Wraps
Skip the chicken and bacon, and load up with black beans, sautéed peppers, and a mix of cheddar and pepper jack cheese for a hearty meatless option.
What to Serve With This
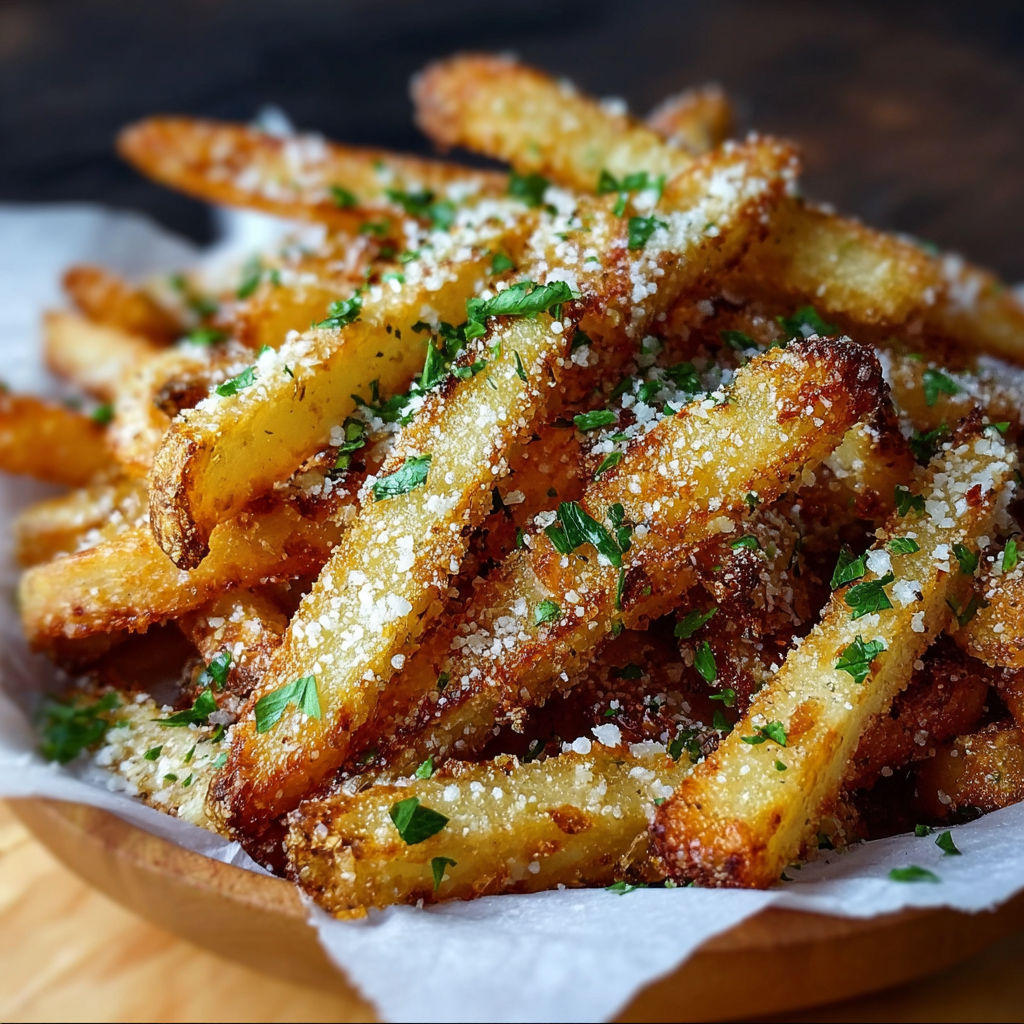
- Serve with garlic-parmesan fries or a simple side salad dressed with balsamic vinaigrette for a balanced meal.
- Pair with a cold glass of iced tea or lemonade to cut through the richness of the ranch and bacon.
- For a fun appetizer, cut the wraps into pinwheels and serve with extra ranch for dipping.
- Add a bowl of pickled jalapeños or banana peppers on the side for those who love a little heat.
Storage & Reheating
Storage
Store wrapped, cooled wraps in an airtight container in the fridge for up to 3 days. Avoid stacking them to prevent the tortillas from becoming soggy.
Reheating
Reheat in a skillet over medium-low heat for 2-3 minutes per side until warm and crispy. Alternatively, wrap in foil and warm in a 300°F oven for 10 minutes to retain moisture without drying out the tortilla.
Expert Chef Tips
- Toast the tortillas lightly in a dry skillet for 30 seconds on each side before assembling. This creates an extra crispy base that won't get soggy from the ranch or fillings.
- Use a pizza cutter or sharp chef's knife to slice the wraps after baking. A serrated knife will prevent the cheese from sticking and tearing the tortilla.
- For a restaurant-style finish, brush the tortillas with melted butter before baking. This adds a subtle richness and helps achieve an even golden-brown color.
Equipment You’ll Need
- Large baking sheet for even heat distribution during baking.
- Mixing bowls for combining fillings and holding shredded lettuce.
- Sharp chef's knife or pizza cutter for clean slicing after baking.
- Pastry brush (optional) for applying melted butter to tortillas.
Nutritional Benefits
- Each wrap provides approximately 700 calories, with 35g of protein from the chicken and bacon, making it a satisfying, high-protein meal.
- The ranch dressing adds healthy fats from the mayonnaise base, while the lettuce and tomatoes contribute fiber and vitamins A and C.
- Using lean chicken breast and turkey bacon (if preferred) can reduce saturated fat content without sacrificing flavor.
- For a lighter version, opt for low-fat ranch and reduced-fat cheese, and replace half the cheddar with part-skim mozzarella to cut calories by about 150 per wrap.
Reviews
No written reviews yet — be the first to cook this and share how it turned out!
Leave a Review
Frequently Asked Questions
Can I use raw chicken and cook it in the wrap?
Yes, but slice the chicken thinly and bake the wraps for 15-18 minutes to ensure the chicken is fully cooked. For best results, pre-cook the chicken to avoid uneven cooking or dry, rubbery texture.
What's the best way to roll the wraps tightly without spilling the fillings?
Start by spreading the ranch in a 2-inch-wide strip down the center of the tortilla. Distribute fillings evenly and close to the ranch strip. Fold the sides in first, then roll tightly from the bottom up, pressing gently as you go.
Can I make these wraps ahead of time?
Absolutely. Assemble the wraps, wrap them tightly in plastic or foil, and refrigerate for up to 24 hours before baking. Add 2-3 extra minutes to the baking time if baking from cold.
How do I reheat these wraps without making them soggy?
The key is low and slow. Reheat in a skillet over medium heat with the seam-side down to crisp it up. Alternatively, warm in the oven at 300°F wrapped in foil to retain moisture without steaming the tortilla.
Can I freeze these wraps, and if so, how?
Yes, freeze assembled (but unbaked) wraps tightly wrapped in foil and plastic wrap for up to 2 months. Thaw overnight in the fridge before baking. Bake as directed, adding 3-5 minutes to the baking time.
What's a good ranch substitute if I don't have any?
Mix 1/2 cup mayo with 1/2 cup sour cream, 1 tbsp lemon juice, 1 tsp garlic powder, 1 tsp onion powder, 1/2 tsp dried dill, and salt to taste. Adjust seasoning to your preference.
Can I use gluten-free tortillas for this recipe?
Yes, but choose sturdy gluten-free tortillas designed for burritos or wraps. They're less likely to crack during rolling and baking. Bake for 8-10 minutes to prevent over-browning.
Why do my wraps fall apart when I slice them?
This usually happens if the tortilla is too dry or overfilled. Ensure the tortilla is warmed slightly before assembling, and don't overload it. Also, let the wraps cool for 2-3 minutes after baking before slicing to allow the cheese to set.
More Gathering Stars


🔒 From the Vault — 43,000+ premium recipes
Cook This Next