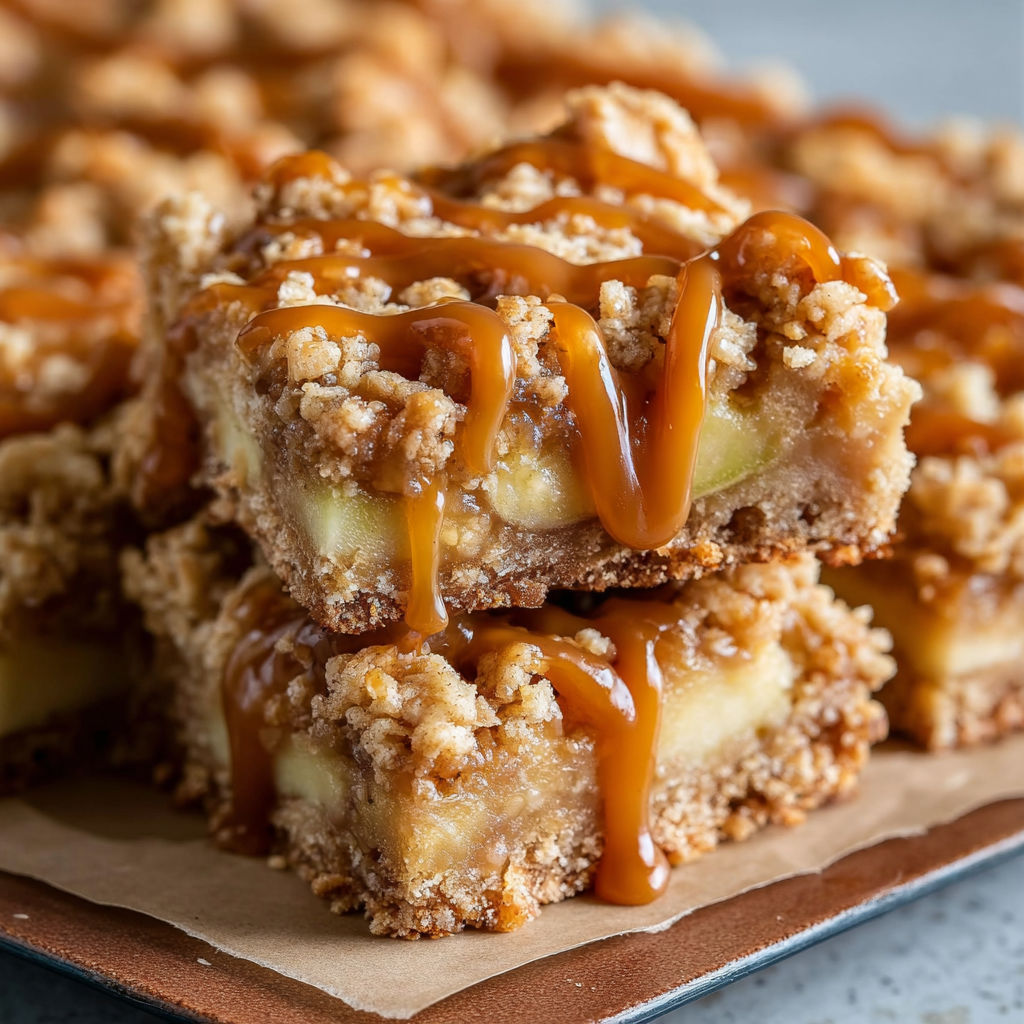
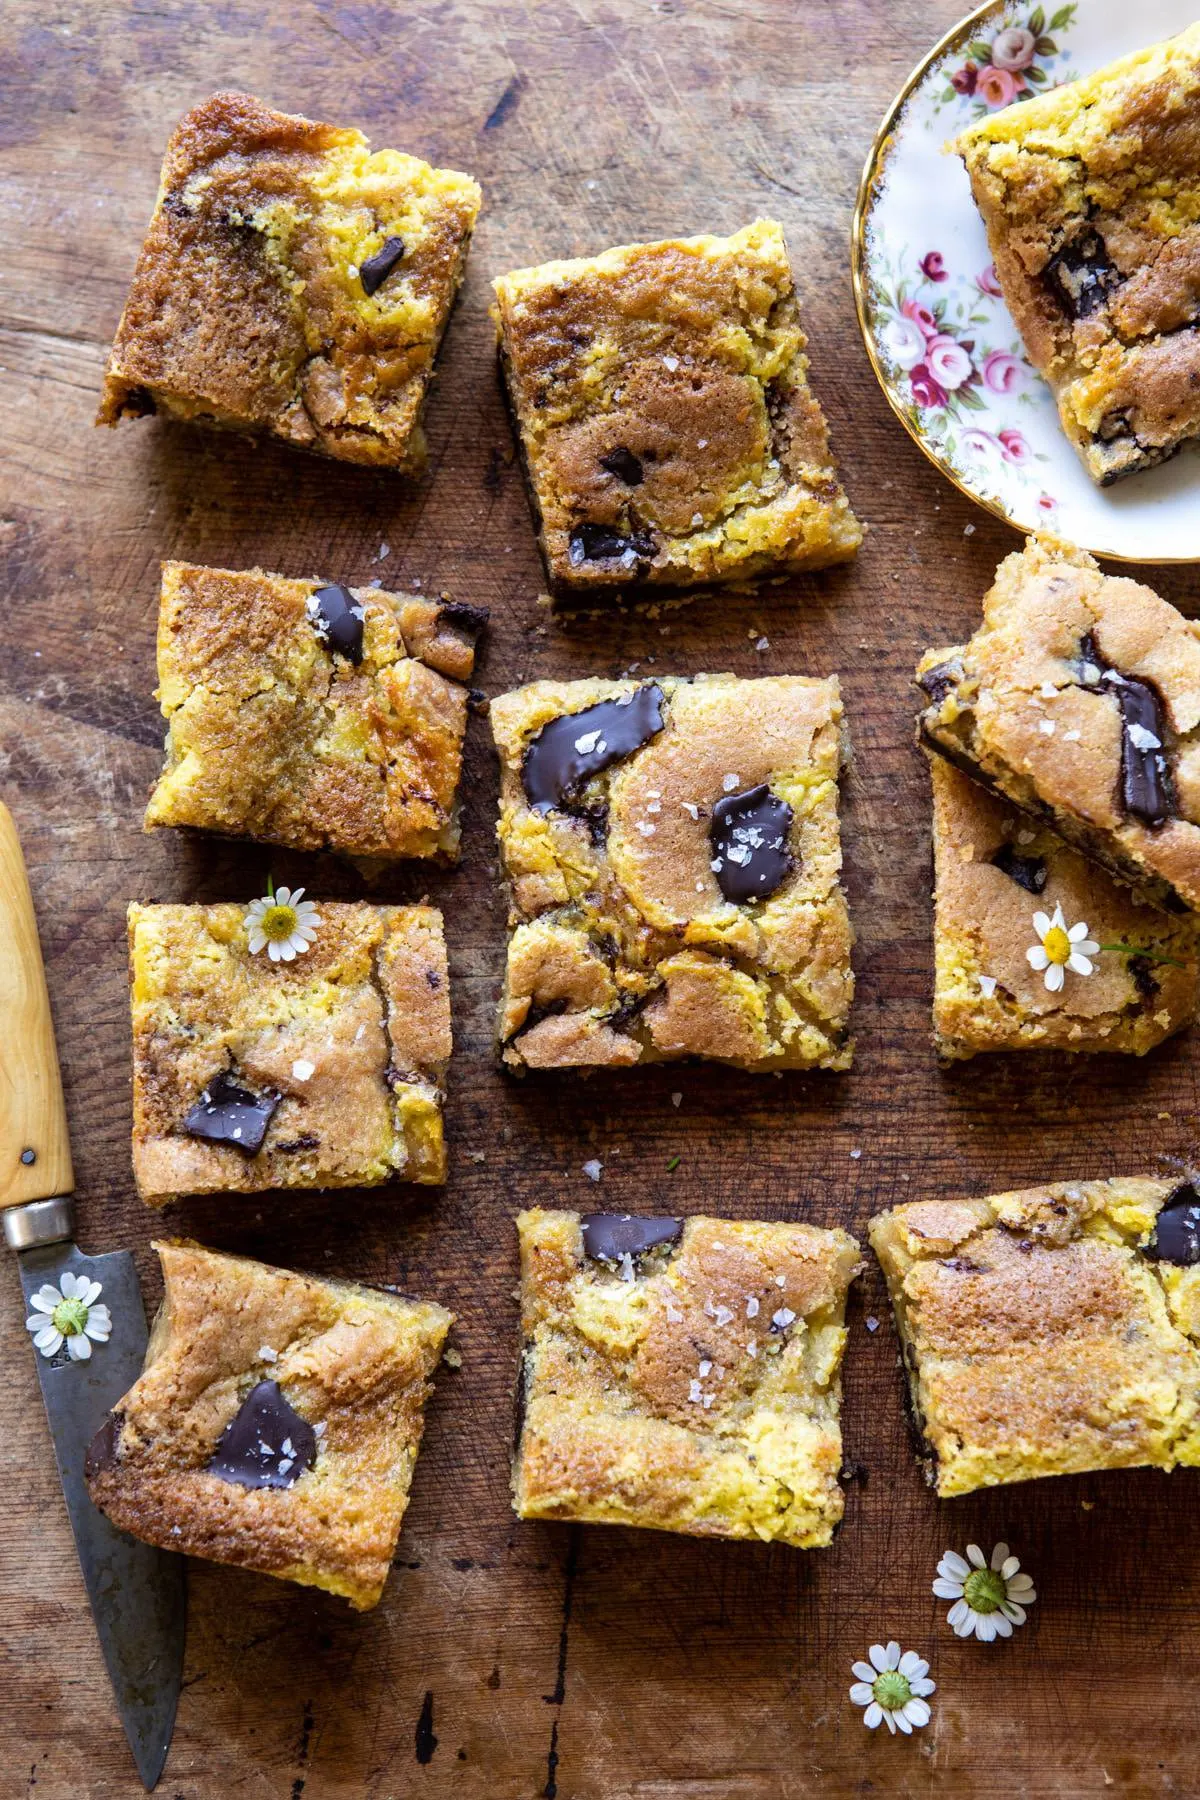
Salted Caramel Apple Crisp Bars
There's something magical about the way these Salted Caramel Apple Crisp Bars bring the flavors of fall right into your kitchen. The warm, spiced apples nestled beneath a buttery oat crumble and the gooey caramel swirl make every bite feel like a hug. Perfect for cozy Sunday afternoons, potlucks, or even a thoughtful gift wrapped in parchment paper, these bars are beloved by home cooks for their irresistible texture and balanced sweetness. The touch of flaky salt at the end elevates the caramel just enough to keep you reaching for another slice.
What Makes This Recipe Special
- The double-layered texture-crunchy oat crust on the bottom and a gooey caramel-kissed apple layer on top-creates a perfect contrast in every bite.
- Homemade salted caramel sauce is the star, but you can substitute high-quality store-bought for convenience without losing the depth of flavor.
- The recipe cleverly uses melted butter to bind both the crust and the apple layer, ensuring every component stays moist and flavorful.
- A final sprinkle of flaky salt isn't just a garnish-it intensifies the caramel's richness and balances the sweetness for a sophisticated finish.
Ingredients
2 cupsall-purpose flour
1 cuprolled oats
1 cupbrown sugar
1 teaspoonground cinnamon
1/2 teaspoonsalt
1 cupunsalted butter, melted
1/2 cupsalted caramel sauce
Salt, for finishing
Nutrition
430 caloriesCalories
Per serving · Values are estimates
Instructions
1
In a large mixing bowl, combine the all-purpose flour, rolled oats, brown sugar, ground cinnamon, and salt until evenly distributed.
2
Pour the melted unsalted butter over the dry ingredients and mix thoroughly until a crumbly texture forms.
3
Press two-thirds of the oat mixture firmly into the base of a 9×13 inch baking pan. Layer sliced apples over the crust, drizzle evenly with salted caramel sauce, then sprinkle with the remaining crumb mixture.
4
Bake in a preheated oven at 350°F (177°C) for 25 minutes or until the top is golden brown and crisp.
5
Allow to cool slightly before slicing. Sprinkle with a pinch of salt and serve warm, optionally with vanilla ice cream.
Essential Tips
Chop apples evenly
Use a mandoline or sharp knife to slice apples into ¼-inch thick pieces for consistent baking and texture. Thicker slices may stay too crunchy, while thinner ones can turn mushy.
Prevent soggy crust
After pressing the oat mixture into the pan, chill it in the freezer for 15 minutes before adding the apples. This creates a sturdier base that holds up against the juicy fruit.
Choose the right apples
Opt for a mix of Granny Smith and Honeycrisp apples-Granny Smith for tartness and structure, Honeycrisp for natural sweetness and tenderness. Avoid overly mealy varieties like Red Delicious.
Caramel sauce consistency
Use a thick, pourable caramel sauce for swirling. If it's too thin, it'll soak into the crust; if too thick, it won't spread evenly. Warm it slightly before drizzling for better control.
Crisp top secret
For an extra-crunchy topping, spread the remaining one-third of the oat mixture loosely over the apples before baking. Don't press it down-let it stay airy for maximum crunch.
Smart Swaps & Variations
Nutty Crunch
Stir ½ cup chopped pecans or walnuts into the oat mixture for added texture and a toasty depth of flavor.
Spiced Swap
Replace the cinnamon with ½ teaspoon of pumpkin pie spice for a more complex, autumnal warmth.
Gluten-Free
Substitute the all-purpose flour with a 1:1 gluten-free baking blend and use certified gluten-free oats.
Vegan Caramel Crisp
Use vegan butter, a vegan caramel sauce, and coconut oil in place of butter, ensuring all ingredients are plant-based.
Chocolate Drizzle
Melt ½ cup dark chocolate chips and drizzle over the cooled bars for a decadent twist that pairs beautifully with the caramel.
What to Serve With This
- A scoop of vanilla bean ice cream or a dollop of whipped cream to contrast the warm, spiced apples.
- A hot cup of chai tea or apple cider for the ultimate fall pairing experience.
- A sprinkle of toasted coconut flakes on top for a tropical-inspired twist.
- Serve at room temperature or slightly warmed for the best texture and flavor.
Storage & Reheating
Storage
Store bars in an airtight container at room temperature for up to 3 days, or refrigerate for up to 5 days. The texture holds up better in the fridge, though the topping may soften slightly.
Reheating
To restore the crispness of the oat topping, reheat individual bars in a 300°F (150°C) oven for 5-7 minutes. Microwaving works in a pinch but can make the bars soggy.
Expert Chef Tips
- Toast the oats in a dry skillet over medium heat for 3-4 minutes before adding them to the crust mixture. This deepens their nutty flavor and enhances the overall crunch.
- For a cleaner slice, chill the bars in the fridge for at least 1 hour after baking and before cutting. This firms up the layers for neat, professional-looking bars.
- If your caramel sauce is too thick to drizzle, dilute it slightly with warm heavy cream or milk to achieve a pourable consistency without altering the flavor.
Equipment You’ll Need
- 9×13-inch baking pan
- Large mixing bowl
- Mandoline or sharp chef's knife for slicing apples
- Measuring cups and spoons
- Rubber spatula for spreading caramel and pressing the crust
Nutritional Benefits
- Each bar provides approximately 430 calories, with 22g of total fat (mostly from healthy unsaturated fats in the caramel and butter) and 56g of carbohydrates for sustained energy.
- The oat-based crust offers 5g of dietary fiber per bar, contributing to digestive health and helping to slow the absorption of sugars.
- Using unsalted butter allows control over sodium content, and the final sprinkle of flaky salt adds just 50mg of sodium per bar-minimal compared to store-bought desserts.
- Apples contribute vitamin C and antioxidants like quercetin, which support immune function and reduce inflammation.
Reviews
No written reviews yet — be the first to cook this and share how it turned out!
Leave a Review
Frequently Asked Questions
Can I use a different type of caramel sauce?
Yes, but choose a high-quality sauce with a thick consistency. Avoid runny sauces, as they can make the bars soggy. If using salted caramel, taste before adding extra salt at the end.
What's the best way to slice these bars evenly?
Chill the bars in the fridge for at least 1 hour after baking to firm up the layers. Use a sharp, serrated knife and wipe it clean between cuts for clean edges.
Can I make these bars ahead of time?
Absolutely! Bake the bars up to 2 days ahead and store them covered at room temperature. Reheat in the oven before serving to restore crispness.
How do I prevent the apples from browning?
Toss sliced apples with 1 tablespoon of lemon juice before layering them in the pan. This slows oxidation and keeps them looking fresh.
Can I substitute another fruit for the apples?
Yes, try pears or peaches for a different twist. Adjust baking time as needed-softer fruits like peaches may require 5-10 fewer minutes in the oven.
Why does my crust turn out soggy?
This usually happens if the apples release too much juice or the crust isn't pre-chilled. Ensure the crust is firm before adding apples, and pat excess moisture from the apples with a paper towel.
How do I know when the bars are done baking?
The crust should be golden brown, and the apple layer should be tender with bubbling juices. A toothpick inserted into the center should come out clean.
Can I freeze these bars?
Yes, wrap individual bars tightly in plastic wrap and store in a freezer bag for up to 3 months. Thaw overnight in the fridge before serving.
More Sweet Comfort
🔒 From the Vault — 43,000+ premium recipes
Cook This Next