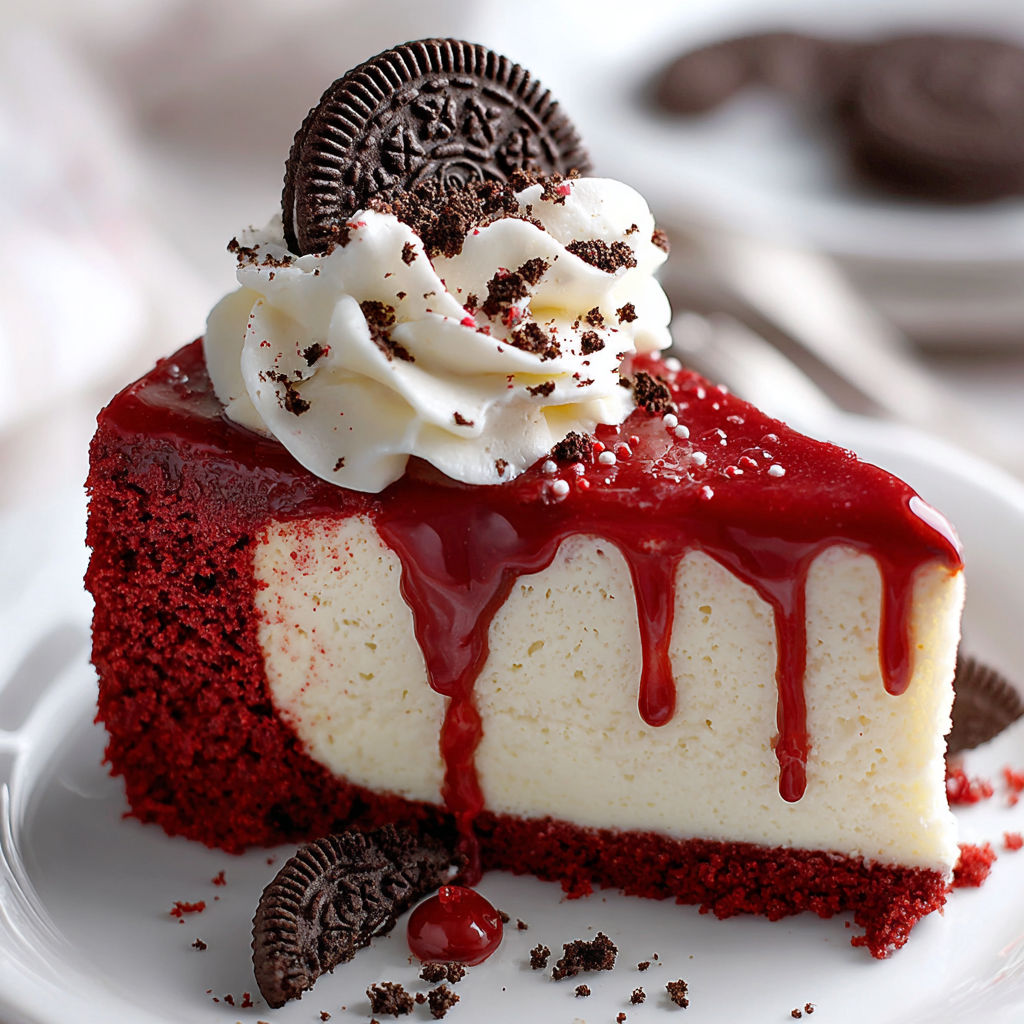
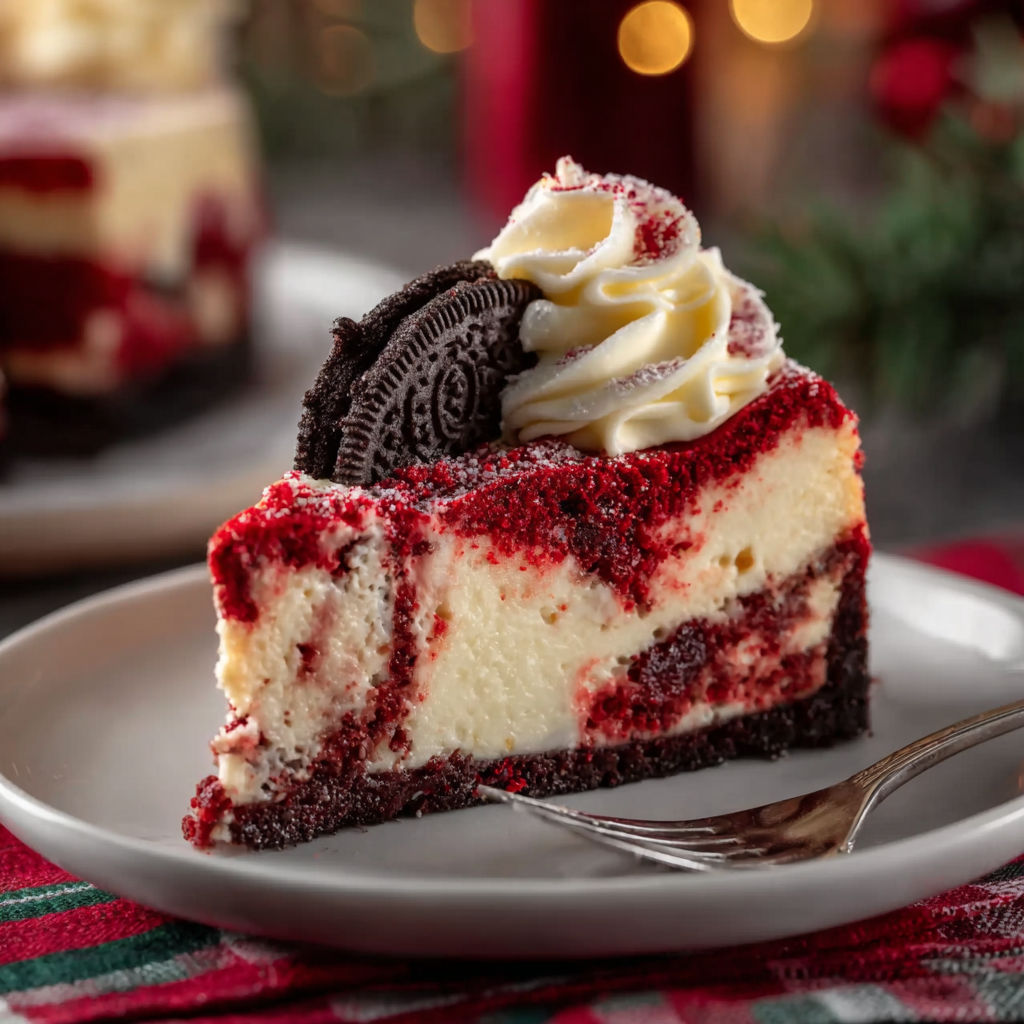
Christmas Red Velvet Cheesecake
There's something magical about serving a Christmas Red Velvet Cheesecake at your holiday gathering-it's the kind of dessert that turns heads and warms hearts. Whether you're hosting a festive dinner party or simply want to add a showstopper to your Christmas dessert table, this cake delivers rich, velvety layers of cream cheese goodness with a festive red velvet twist. The crunchy Oreo crust and festive sprinkles make it irresistibly fun, while the subtle cocoa and vanilla flavors keep it sophisticated enough for adults. It's a dessert that says 'celebration' without saying a word.
What Makes This Recipe Special
- Festive layers: The cake combines a classic red velvet flavor with a chocolate Oreo crust and whipped cream topping, creating a multitextured dessert that's as visually stunning as it is delicious.
- Water bath method: Baking the cheesecake in a water bath ensures a creamy, crack-free texture, which is especially important for a dense red velvet cheesecake.
- Homemade whipped cream: Whipping the heavy cream fresh and folding in Christmas sprinkles gives the topping a light, airy texture with a festive crunch you can't get from store-bought toppings.
- Customizable color: The red food coloring can be adjusted to your preferred shade, so you can go for a classic deep red or a lighter, more pastel hue to match your holiday theme.
Ingredients
24 Oreocookies, ground into fine crumbs (about 2 cups)
1/3 cupmelted unsalted butter
2 tablespoonswhite sugar
32 ouncessoftened cream cheese (left out until room temp)
1/2 cupwhite sugar
1 teaspoonpure vanilla extract
2 tablespoonscocoa powder (unsweetened)
Red food coloring, amount varies for desired shade
2 cupscold heavy cream for whipping
1/4 cupfestive Christmas sprinkles plus extra for decorating
Mini Oreos for topping
Nutrition
430 caloriesCalories
Per serving · Values are estimates
Instructions
1
Get your oven going at 350°F (175°C). Take a 9-inch springform pan and wrap the outside completely with thick aluminum foil so water can't sneak in during the bath later.
2
Mix your Oreo crumbs with the melted butter and 2 tablespoons of sugar in a bowl until everything looks wet. Push this mixture down firmly on the pan bottom. Pop it in the oven for 8-10 minutes. Once done, pull it out and let it cool completely on a wire rack.
3
Using a stand mixer, whip the cream cheese until it's nice and smooth. Add in the 1/2 cup sugar and mix just until it's combined. Stir in the vanilla, cocoa powder, and enough red food coloring to get a bright color you like. In another bowl, whip 1 cup of the heavy cream until soft peaks form. Carefully fold this whipped cream into your cream cheese mix. Then gently mix in the 1/4 cup Christmas sprinkles. Pour everything over your cooled crust and smooth the top.
4
Turn your oven down to 325°F (160°C). Put your foil-wrapped pan inside a bigger roasting pan. Pour hot water into the larger pan until it comes halfway up the sides of your springform. Bake for 60-75 minutes until the edges seem set but the middle still wobbles slightly.
5
Shut off the oven but leave the cheesecake inside with the door cracked open for an hour. Take it out of the water bath and let it cool on a wire rack for another 2-3 hours. Gently run a knife around the edge to loosen it up. Cover it loosely and stick it in the fridge for at least 6-8 hours or better yet, overnight.
6
Pop off the springform ring. Top your cheesecake with the rest of the whipped cream and add mini Oreos and extra sprinkles on top. For clean slices, use a knife dipped in hot water and wiped clean between cuts. Keep any leftovers in the fridge.
Essential Tips
Use room temp cream cheese
Ensure your cream cheese is at room temperature before mixing to achieve a smooth, lump-free filling. Cold cream cheese will not blend properly and can lead to a dense, grainy texture. Leave it out for at least 1-2 hours before starting.
Press crust firmly
When pressing the Oreo crumbs into the springform pan, use the bottom of a glass or measuring cup to compact the mixture evenly. This prevents the crust from crumbling when slicing and provides a sturdy base for the cheesecake.
Chill before slicing
Let the cheesecake cool completely in the oven with the door cracked, then refrigerate it for at least 4 hours (or overnight) before slicing. This helps the layers set and makes for cleaner cuts.
Whip cream just right
Whip the heavy cream until it forms soft peaks-just before stiff peaks-to maintain a light, cloud-like texture. Over-whipping will turn it grainy and make it difficult to fold in the sprinkles evenly.
Decorate right before serving
Add the whipped cream topping and sprinkles just before serving to keep the whipped cream fresh and the sprinkles from getting soggy. If prepping ahead, store the topping separately and assemble right before serving.
Smart Swaps & Variations
Peppermint Chocolate Twist
Crush candy canes or peppermint candies and fold half into the Oreo crust mixture and sprinkle the rest on top of the whipped cream for a festive peppermint-chocolate flavor combination.
Gluten-Free
Use gluten-free Oreos for the crust to make this cheesecake suitable for gluten-sensitive guests. Ensure all other ingredients, like the cocoa powder and food coloring, are also certified gluten-free.
Boozy Infusion
Add 1-2 tablespoons of peppermint schnapps or bourbon to the cream cheese filling for a subtle adult twist. Alternatively, brush the crust with 1 tablespoon of Irish cream or Grand Marnier before adding the filling.
What to Serve With This
- Warm mulled wine or spiced apple cider to complement the rich, sweet flavors of the cheesecake.
- A scoop of vanilla bean ice cream or a dollop of whipped cream on the side for extra indulgence.
- Fresh berries, like raspberries or blackberries, to cut through the sweetness and add a pop of color.
- A dusting of powdered sugar or cocoa powder for a simple yet elegant finish.
Storage & Reheating
Storage
Store the cheesecake in the refrigerator, covered tightly with plastic wrap or foil, for up to 5 days. Avoid freezing, as it can alter the texture of the whipped cream and make the crust soggy.
Reheating
This cheesecake is best enjoyed cold, so no reheating is necessary. If you must warm a slice slightly, place it on a plate and microwave for 10-15 seconds to take the chill off, but avoid overdoing it to prevent melting the whipped cream.
Expert Chef Tips
- Use a springform pan with greased sides to prevent the crust from sticking. Alternatively, line the pan with parchment paper for easier removal.
- For a smoother cheesecake, strain the cream cheese filling through a fine-mesh sieve after mixing to remove any lumps. This step is especially helpful if your cream cheese isn't perfectly smooth.
- Add a teaspoon of lemon juice or vinegar to the whipped cream to stabilize it and prevent it from deflating too quickly. This is a pro trick for desserts that need to hold their shape for hours, like this cheesecake.
Equipment You’ll Need
- 9-inch springform pan
- Stand mixer or electric hand mixer
- Food processor or blender (for crushing Oreos)
- Aluminum foil (for water bath)
- Fine-mesh sieve (optional, for smoothing filling)
Nutritional Benefits
- This dessert is rich in calcium and protein from the cream cheese and heavy cream, which support bone and muscle health.
- The Oreo crust provides a small amount of fiber and iron, though the overall dish is high in sugar and saturated fat, so it's best enjoyed in moderation.
- The red velvet flavor comes from cocoa powder, which contains antioxidants that may support heart health when consumed as part of a balanced diet.
- The whipped cream topping adds a light, airy texture but also contributes to the dish's calorie and fat content, so consider lighter alternatives if needed.
Reviews
No written reviews yet — be the first to cook this and share how it turned out!
Leave a Review
Frequently Asked Questions
Can I make the cheesecake ahead of time?
Absolutely! The cheesecake tastes even better the next day as the flavors meld together. Bake it up to 2 days ahead and store it covered in the fridge until ready to serve. Assemble the whipped cream topping and decorations just before serving.
What if I don't have a springform pan?
You can bake this cheesecake in a regular cake pan, but you'll need to grease it thoroughly and line the bottom with parchment paper for easy removal. Note that the texture may vary slightly, and the cheesecake might not be as tall.
Can I use food coloring gel instead of liquid?
Yes, food coloring gel is more concentrated and will give you a deeper, more vibrant color without adding extra liquid to the batter. Use about half the amount of gel compared to liquid food coloring.
Why did my cheesecake crack?
Cheesecake cracks are usually caused by overmixing the batter or baking it too quickly. To prevent cracks, avoid overmixing after adding the sugar, and bake in a water bath at a lower temperature (325°F/160°C) for even cooking.
Can I substitute the Oreo crust for something else?
Yes! You can use graham crackers, chocolate cookies, or even gingersnaps for a different flavor. Just ensure they're finely ground and mixed with melted butter and sugar for a cohesive crust.
How do I get clean slices?
Use a sharp, thin knife dipped in hot water and wiped dry between cuts. For extra precision, wrap the knife in plastic wrap after dipping to prevent the cheesecake from sticking to the blade.
Can I make this cheesecake without a water bath?
While a water bath is ideal for even baking, you can bake the cheesecake without one if necessary. Just be aware it may bake faster on the edges and could be slightly less creamy. Place a baking sheet on the lower rack to catch any drips.
Why is my red velvet color too pale?
Red velvet cakes often use a combination of red and blue food coloring to achieve a deep red hue. If your color is too pale, add a few drops more red food coloring or a tiny pinch of blue to neutralize the yellow tones in the cocoa powder.
More Christmas
🔒 From the Vault — 43,000+ premium recipes


Cook This Next