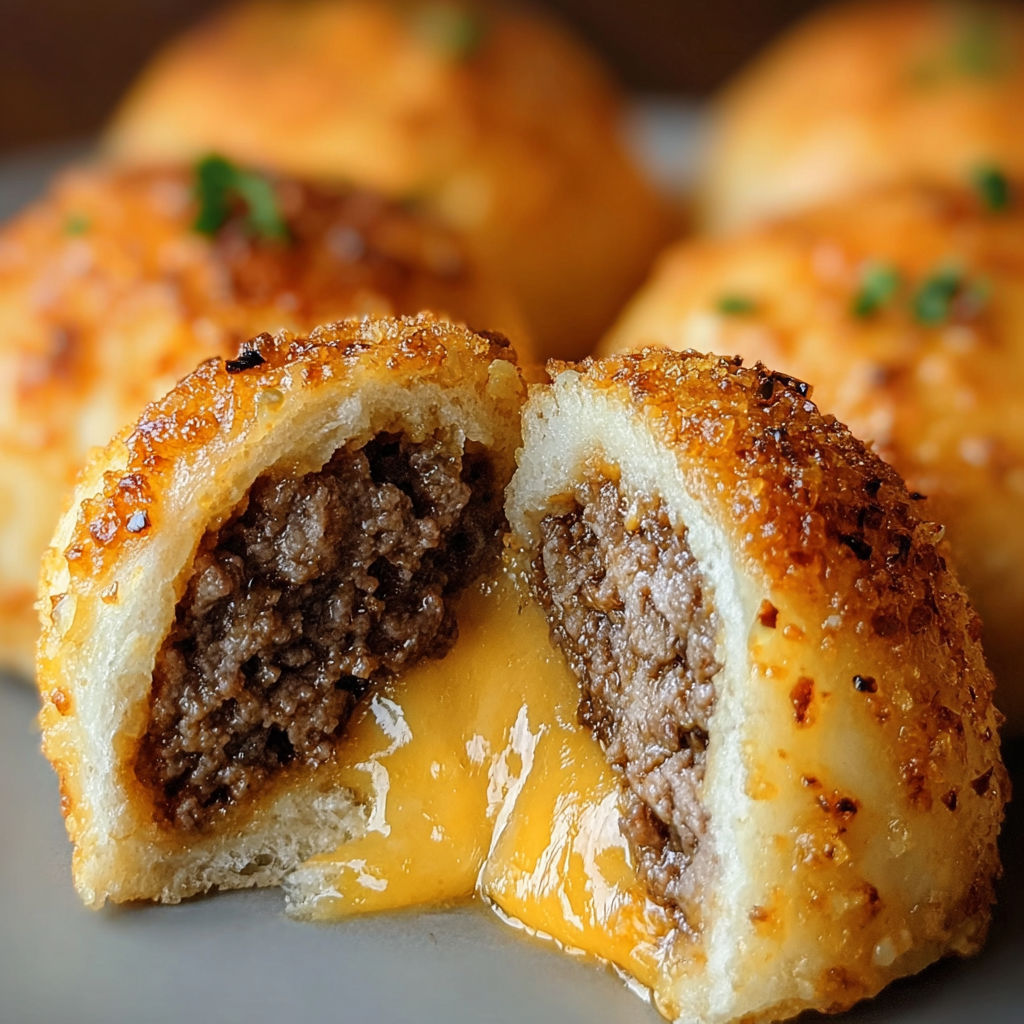
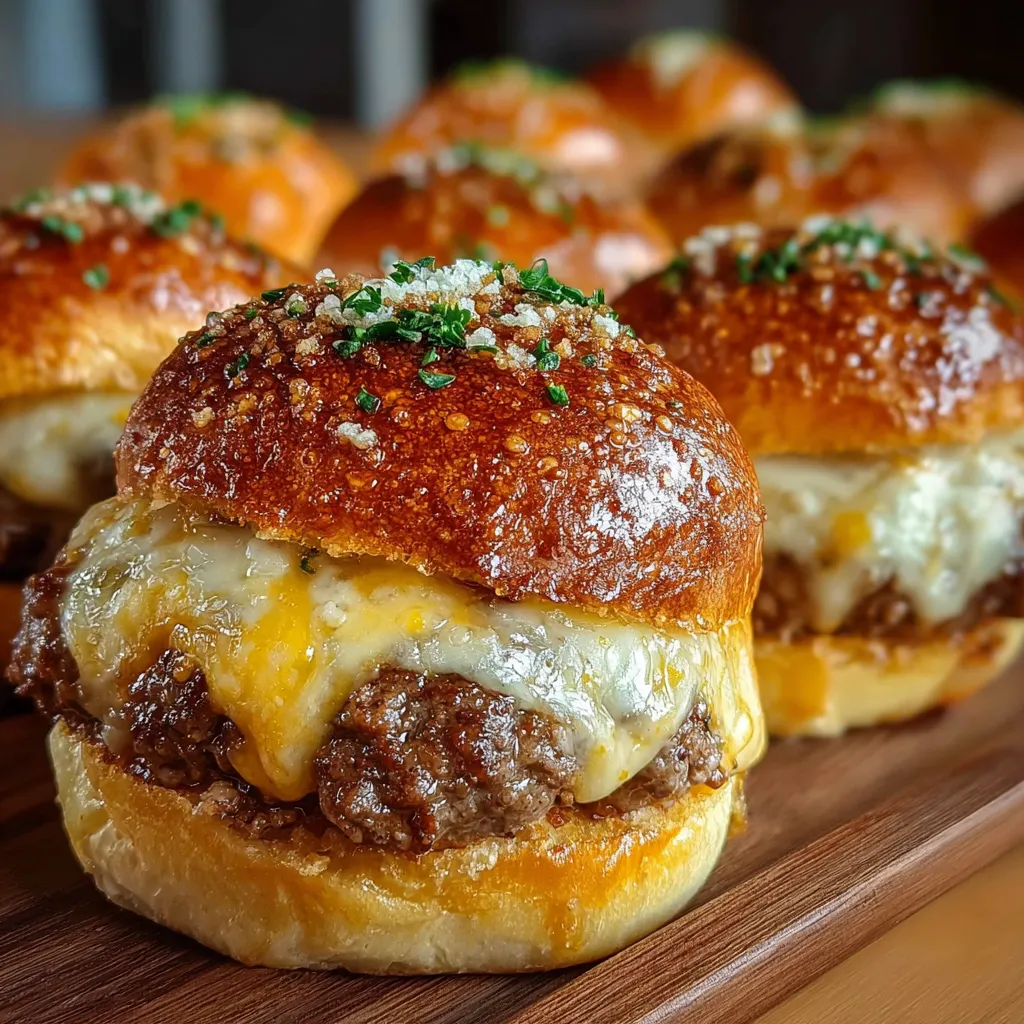
Garlic Parmesan Cheeseburger Bombs
There's something magical about biting into a golden-brown, flaky dough pocket only to discover a juicy cheeseburger inside-garlic butter dripping down your chin, gooey cheese stretching to oblivion, and that irresistible crunch of Parmesan on top. Home cooks adore these Garlic Parmesan Cheeseburger Bombs for game days, potlucks, or even a fun family dinner that feels extra special without much effort. What makes them truly irresistible is the perfect balance of savory beef, melty cheese, and aromatic garlic butter all wrapped up in pillowy, buttery dough. These bombs disappear fast, so you might want to make extras-your guests will beg for seconds.
What Makes This Recipe Special
- The dough is flattened into thin circles, which crisps beautifully in the oven and creates a delicate, flaky pocket that contrasts perfectly with the juicy burger inside.
- A double dose of garlic-infused into the butter for brushing and sprinkled over the finished bombs-adds a deep, aromatic flavor that elevates the entire dish.
- Freshly grated Parmesan on top melts into tiny, crispy bits during baking, creating a salty, umami crust that elevates every bite.
- The recipe is endlessly customizable; you can add bacon, pickles, or caramelized onions inside for extra texture and flavor without overpowering the core components.
Ingredients
1 poundground beef
Salt, pepper, garlic powder, and onion powder to taste
1 tablespoonWorcestershire sauce
1 cupshredded cheddar or mozzarella cheese
Optional: crispy bacon, pickles, or caramelized onions
1 tuberefrigerated biscuit or pizza dough, cut into 8-12 circles and flattened
2 tablespoonsbutter, melted
1 teaspoonminced garlic or garlic powder
2 tablespoonsParmesan cheese, freshly grated
Chopped fresh parsley for garnish (optional)
Nutrition
280.5 caloriesCalories
Per serving · Values are estimates
Instructions
1
In a large skillet, cook ground beef over medium heat until browned and no longer pink. Drain excess fat, season with salt, pepper, garlic powder, onion powder, and Worcestershire sauce. Cool completely, then mix in shredded cheese.
2
Flatten each dough piece into a 4-inch circle. Place 1-2 tablespoons of the cooled burger filling in the center. Pinch the edges of the dough to seal, then gently roll into a ball.
3
Place sealed dough balls seam-side down on a parchment-lined baking sheet. Mix melted butter with garlic and brush over the dough balls. Sprinkle with grated Parmesan cheese.
4
Preheat oven to 375°F and bake for 15-18 minutes, or until golden brown and fully cooked.
5
Brush baked bombs with remaining garlic butter and garnish with fresh parsley, if desired. Serve warm with dipping sauces like ranch, garlic aioli, or spicy mayo.
Essential Tips
Don't overfill
Use 1-2 tablespoons of burger filling per dough circle to avoid bursts during baking. Overfilling can cause the dough to split open, leaving you with a messy, under-baked result.
Chill before baking
If your kitchen is warm or the dough feels too soft, chill the sealed bombs for 10 minutes before baking. This helps them hold their shape and achieve a better rise in the oven.
Flatten dough thin
Roll or press the dough circles to about 1/8-inch thickness. Thinner dough crisps more evenly and ensures a lighter, flakier texture around the burger filling.
Use room temp butter
Mix the melted butter with garlic while it's still warm but not hot, so the garlic infuses properly without burning. Room-temperature butter also blends more smoothly.
Bake on parchment
Line your baking sheet with parchment paper to prevent sticking and ensure even browning. Plus, cleanup is a breeze-just peel and toss the paper.
Smart Swaps & Variations
Spicy Kick
Add 1 teaspoon of smoked paprika or a dash of hot sauce to the burger filling for a subtle heat that pairs wonderfully with the garlic butter.
BBQ Twist
Mix 1 tablespoon of BBQ sauce into the burger filling and top the baked bombs with a drizzle of extra sauce and chopped green onions.
Breakfast Bombs
Swap the burger filling for seasoned ground sausage and add scrambled eggs and cheese inside the dough for a hearty brunch option.
Vegetarian
Replace the beef with a mix of sautéed mushrooms, lentils, and finely chopped walnuts for a meaty texture without the meat.
What to Serve With This
- Creamy ranch or garlic aioli for dipping, which complements the garlic butter perfectly.
- A crisp green salad with a tangy vinaigrette to cut through the richness of the bombs.
- Pickle spears or sliced jalapeños for a refreshing contrast to the savory, cheesy bites.
- Cold craft beers or sparkling lemonade for a refreshing pairing at your next gathering.
Storage & Reheating
Storage
Store baked cheeseburger bombs in an airtight container at room temperature for up to 2 days or refrigerate for up to 4 days. For longer storage, freeze them in a single layer before transferring to a freezer bag for up to 3 months.
Reheating
Reheat in a 350°F oven for 5-7 minutes to restore the crispy exterior and warm the filling. Avoid microwaving, as it will make the dough soggy and the cheese rubbery.
Expert Chef Tips
- For an extra-flaky crust, brush the dough circles with a thin layer of beaten egg white before adding the filling. This creates a barrier that prevents the dough from getting soggy from the burger juices.
- Use a mix of cheddar and mozzarella for the filling to get the best of both worlds-sharp cheddar for flavor and mozzarella for maximum melt and stretch.
- If your dough is too sticky to handle, lightly flour your work surface and rolling pin. Just be sure to brush off any excess flour before baking to avoid a dry, gritty texture.
Equipment You’ll Need
- Large skillet for cooking the beef
- Rolling pin or flat-bottomed glass for flattening dough
- Parchment paper for lining the baking sheet
- Pastry brush for applying garlic butter
- Baking sheet for oven baking
Nutritional Benefits
- Each bomb provides approximately 280 calories, making them a satisfying yet portion-controlled indulgence when served alongside lighter sides like salad.
- The garlic and Parmesan add minimal calories but contribute significant flavor, reducing the need for excessive salt or unhealthy fats in the dish.
- Using lean ground beef (90% lean or higher) can cut saturated fat while still delivering rich, beefy flavor. Opt for grass-fed if possible for added omega-3s.
- Dough made from scratch or whole-grain refrigerated dough can boost fiber content, though the calorie count will vary slightly depending on the ingredients used.
Reviews
No written reviews yet — be the first to cook this and share how it turned out!
Leave a Review
Frequently Asked Questions
Can I use homemade dough instead of refrigerated biscuit or pizza dough?
Absolutely! Homemade dough works beautifully, but make sure it's rolled thin (about 1/8-inch) to achieve the right texture. If your dough is too thick, the bombs may not cook through evenly, leaving the center underdone.
What's the best way to seal the dough to prevent it from opening during baking?
Pinch the edges tightly and then twist slightly to create a secure seal. For extra insurance, brush the edges with a bit of water or beaten egg before sealing to act as a natural glue.
Can I make these ahead of time?
Yes! Assemble the bombs and freeze them on a parchment-lined tray before transferring to a freezer bag. Bake straight from frozen, adding 3-5 extra minutes to the baking time. You can also refrigerate unbaked bombs for up to 24 hours before baking.
How do I ensure the beef filling is flavorful and not dry?
Season the beef generously with salt, pepper, garlic powder, and onion powder while it cooks. Add Worcestershire sauce for depth, and drain the fat thoroughly to prevent a greasy texture. Cook the beef just until browned but still juicy.
Can I use pre-cooked bacon or caramelized onions in the filling?
Yes, pre-cooked bacon or caramelized onions can be added directly to the filling. If using raw bacon, cook it crispy first and crumble it into the beef mixture to avoid excess moisture.
Why did my dough turn out gummy instead of crispy?
Gummy dough often results from underbaking or using a dough that's too thick. Ensure the oven is fully preheated to 375°F and bake until the bombs are deep golden brown. Thinner dough circles also crisp up better than thick ones.
What's the best way to reheat leftover bombs without ruining them?
Reheat in a 350°F oven for 5-7 minutes to restore the crispy exterior and warm the filling evenly. Avoid microwaving, as it will make the dough soggy and the cheese rubbery.
Can I substitute ground turkey or chicken for the beef?
Yes, ground turkey or chicken can be used, but they're leaner and less flavorful than beef. Add an extra teaspoon of Worcestershire sauce and a pinch of smoked paprika to compensate for the lack of richness.
More Gathering Stars
🔒 From the Vault — 43,000+ premium recipes
Cook This Next