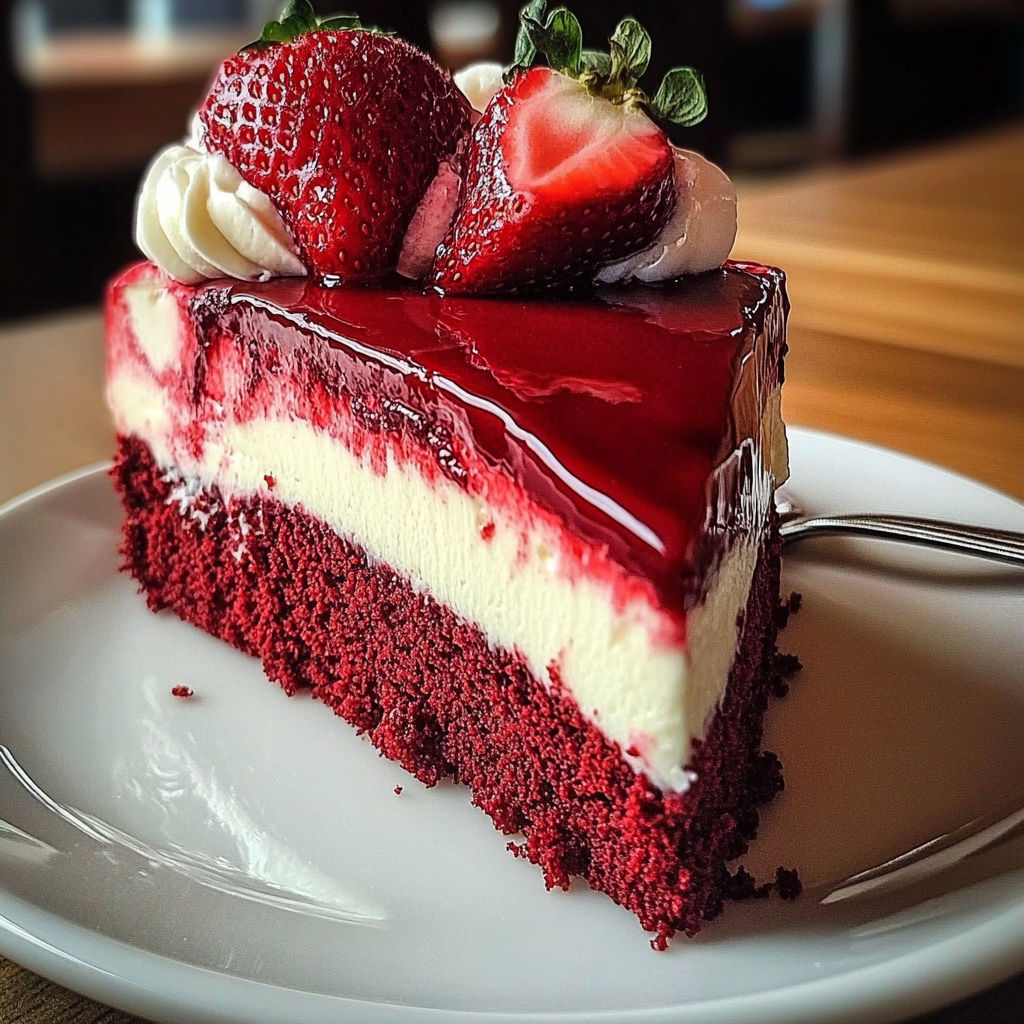
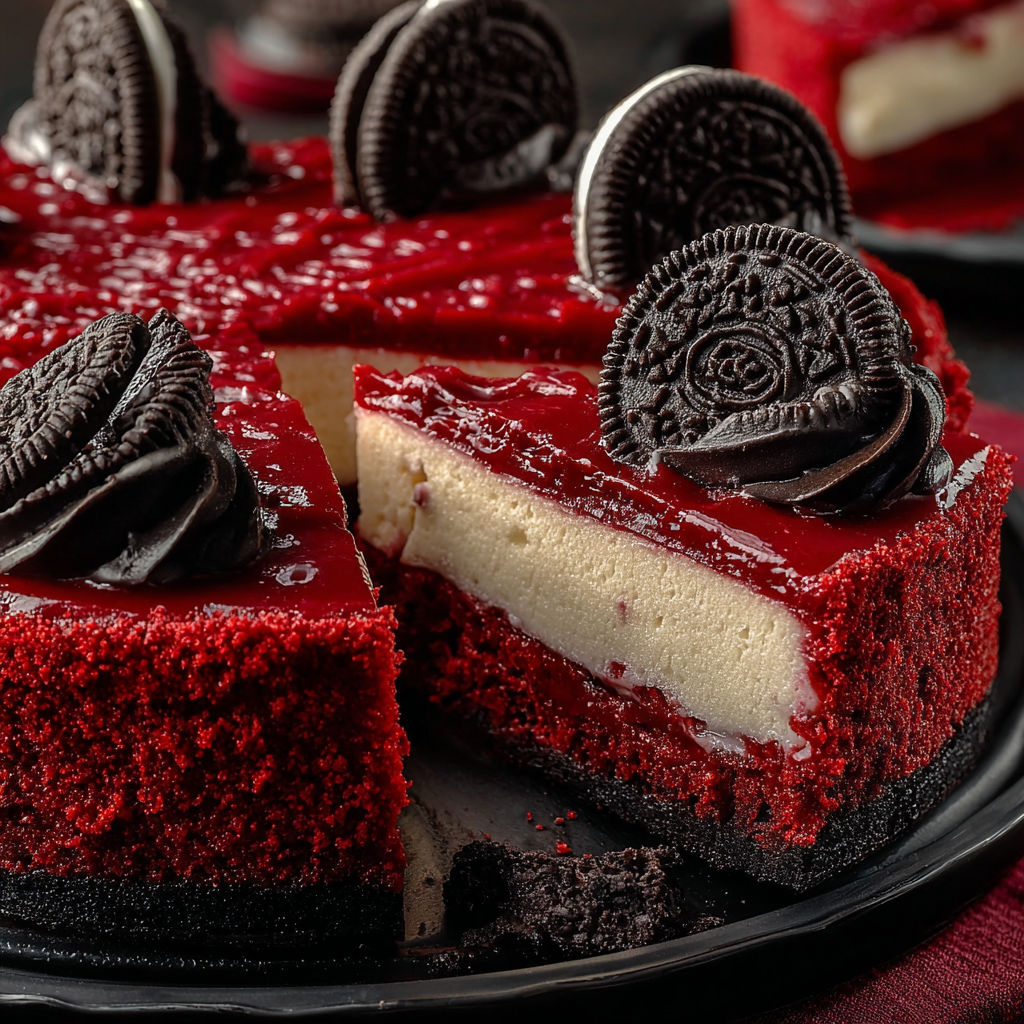
Red Velvet Oreo Cheesecake
There's something magical about slicing into a Red Velvet Oreo Cheesecake-it's Valentine's Day wrapped in edible gift wrap. Home cooks adore this showstopper because it balances rich cocoa undertones with tangy cream cheese and layers of crunchy Oreo crust, making every bite feel like a celebration. Perfect for romantic dinners or festive gatherings, it's the kind of dessert that disappears faster than you can say 'seconds, please.' The vibrant red velvet hue makes it unmistakably special, while the Oreo twist adds a playful twist that's hard to resist.
What Makes This Recipe Special
- The Oreo crust isn't just a base-it's a double-duty layer. Finely crushed Oreos are mixed with melted butter and pressed into the pan, creating a cookie-dough-like texture that shatters with every forkful.
- A splash of white vinegar in the batter reacts with the red food coloring to deepen the hue naturally, giving the cheesecake its signature velvety red velvet look without artificial aftertaste.
- The cheesecake is baked in two stages: first the Oreo crust, then the batter over it, ensuring the crust stays crisp while the filling remains velvety and jiggly in the center.
- Whipped heavy cream topping isn't just a garnish-it's a fluffy contrast to the dense cheesecake, adding a light, airy finish that balances the richness without overpowering.
Ingredients
24 wholeOreo cookies, finely crushed
5 tablespoonsunsalted butter, melted
24 ouncescream cheese, softened
1 cupgranulated sugar
3 largeeggs
1 cupsour cream or Greek yogurt
1 tablespoonvanilla extract
1 teaspoondistilled white vinegar
2 teaspoonsred food coloring, or more as needed
1/2 teaspoonsalt
1 cupheavy whipping cream
2 tablespoonspowdered sugar
1 teaspoonvanilla extract
Crushed Oreo cookies for garnish (optional)
Nutrition
480 caloriesCalories
Per serving · Values are estimates
Instructions
1
Preheat oven to 325°F. Line the bottom of a 9-inch springform pan with parchment paper and lightly grease the sides.
2
Combine finely crushed Oreo cookies with melted butter in a bowl. Press the mixture firmly into the bottom of the prepared pan. Bake for 10 minutes, then set aside to cool.
3
In a large bowl, beat softened cream cheese and granulated sugar together until completely smooth and free of lumps.
4
Add eggs, one at a time, mixing until just blended after each addition. Do not overmix.
5
Blend in sour cream or Greek yogurt, vanilla extract, white vinegar, red food coloring, and salt, mixing until the batter is smooth and uniform in color.
6
Pour cheesecake batter over the cooled crust and smooth the top. Wrap the exterior of the pan tightly with aluminum foil to prevent leaks. Set the pan inside a larger baking dish and fill the dish with about 1 inch of hot water to create a water bath.
7
Bake for 50 to 55 minutes, or until the edges are set but the center remains slightly wobbly. Turn off the oven and cool the cheesecake inside with the door slightly open for 1 hour.
8
Cover and refrigerate the cheesecake for at least 4 hours, or overnight, to allow the texture to fully set.
9
Whip heavy cream, powdered sugar, and vanilla extract until stiff peaks form. Pipe or spread over the chilled cheesecake and garnish with additional crushed Oreos as desired.
10
Release the cheesecake from the pan, slice evenly, and serve chilled for best flavor and texture.
Essential Tips
Don't overmix the batter
After adding the eggs, mix just until combined to avoid incorporating too much air, which can cause cracks in the cheesecake as it bakes and cools. Overmixing also makes the texture grainy instead of smooth.
Use room-temperature ingredients
Ensure cream cheese and eggs are fully softened to room temperature before starting. Cold ingredients create lumps and prevent the batter from emulsifying properly, leading to a dense or uneven texture.
Wrap the pan tightly with foil
A double layer of heavy-duty aluminum foil around the springform pan prevents water from the water bath from seeping in and creating a soggy crust or uneven bake. Tear off enough foil to cover the entire pan securely.
Cool in the oven
After baking, shut off the oven and crack the door open, letting the cheesecake cool gradually inside for 30 minutes. This prevents dramatic temperature swings that can cause cracking or sinking in the center.
Chill overnight for best texture
While 4 hours is the minimum, chilling overnight allows the flavors to meld and the texture to fully set. The cream cheese becomes silkier, and the red velvet notes deepen, making each slice more satisfying.
Smart Swaps & Variations
Chocolate Swirl
Add 1/4 cup melted dark chocolate to the batter before baking and swirl gently with a knife for a marbled effect and extra depth of flavor.
Mint Oreo
Replace red food coloring with 1/2 teaspoon mint extract and add green food coloring, then top with crushed mint Oreo cookies for a festive twist.
Gluten-Free
Use gluten-free Oreos and ensure all other ingredients are certified gluten-free to create a safe, indulgent dessert without sacrificing texture.
What to Serve With This
- A steaming cup of coffee or espresso to cut through the richness and highlight the cocoa notes.
- Fresh berries like raspberries or blackberries for a bright, tart contrast to the sweet cheesecake.
- Vanilla bean ice cream or whipped cream dolloped generously on the side for an extra decadent experience.
- Champagne or sparkling wine for a celebratory pairing that complements the red velvet's elegance.
Storage & Reheating
Storage
Store the cheesecake in an airtight container in the refrigerator for up to 5 days. Keep it covered to prevent it from absorbing fridge odors and to maintain its freshness.
Reheating
This cheesecake is best enjoyed chilled, so avoid reheating. If you must, warm individual slices briefly in the microwave for 10-15 seconds, but expect a slight texture change.
Expert Chef Tips
- For a perfectly smooth crust, pulse the Oreos in a food processor until they resemble fine crumbs, then press the mixture firmly into the pan with a measuring cup to ensure even density.
- Use a water bath to bake the cheesecake, placing the springform pan inside a larger roasting pan and filling the roasting pan with hot water halfway up the sides. This creates a gentle, even heat that prevents cracking.
- To check for doneness, gently shake the pan-the edges should be set, but the center should still jiggle slightly, like Jell-O. Overbaking leads to a dry texture, while underbaking results in a gummy center.
Equipment You’ll Need
- 9-inch springform pan
- Food processor or rolling pin (for crushing Oreos)
- Stand mixer or hand mixer (for cream cheese and batter)
- Aluminum foil (for water bath)
Nutritional Benefits
- One slice (1/12 of the cheesecake) contains approximately 480 calories, mostly from saturated fats in the cream cheese and butter, making it a rich but indulgent treat.
- The cheesecake is high in calcium from the cream cheese and sour cream, contributing to bone health, though it's also high in sodium due to the Oreo crust and added salt.
- Each serving provides about 30% of the daily recommended saturated fat intake, so enjoy in moderation if watching heart health.
- The red velvet hue comes from food coloring, which has no nutritional value but adds antioxidants from the cocoa powder in the Oreos.
Reviews
No written reviews yet — be the first to cook this and share how it turned out!
Leave a Review
Frequently Asked Questions
Can I use natural red food coloring instead?
While natural red dyes exist, they often produce a less vibrant hue and can alter the flavor slightly. Stick with concentrated red food coloring for the best visual and taste results. Avoid beet-based dyes, as they can make the cheesecake taste earthy.
What causes cracks in the cheesecake?
Cracks typically happen from overmixing the batter, drastic temperature changes during baking or cooling, or baking too long. To prevent them, follow the recipe closely, avoid overmixing, and cool the cheesecake gradually in the oven after baking.
Can I make this ahead of time?
Absolutely! This cheesecake actually tastes better after 24 hours, as the flavors deepen and the texture becomes more uniform. Prepare it 1-2 days ahead and store it covered in the fridge until ready to serve.
How do I prevent the Oreo crust from getting soggy?
Bake the crust for 10 minutes before adding the batter to set it firmly. Also, ensure the cheesecake is fully cooled before adding the topping, and avoid over-saturating the crust with liquid ingredients.
Can I substitute Greek yogurt for sour cream?
Yes, Greek yogurt works well as a substitute for sour cream, especially if you're looking for a thicker, protein-rich option. However, it may slightly alter the tanginess, so add a splash of lemon juice to balance the flavors.
What's the best way to release the cheesecake from the pan?
Run a thin knife around the edge of the cheesecake to loosen it, then release the springform ring slowly. If the crust sticks, dip a paper towel in warm water, wring it out, and gently press it against the pan's edge to help release.
Can I freeze this cheesecake?
Yes, wrap the cheesecake tightly in plastic wrap and then in aluminum foil, then freeze for up to 3 months. Thaw overnight in the refrigerator before serving. However, the texture may become slightly denser after freezing.
What if I don't have a springform pan?
Use a regular cake pan lined with parchment paper, but ensure the sides are high enough to contain the batter. You'll need to gently invert the cheesecake onto a plate after chilling, which can be tricky-consider lining with an extra layer of parchment for easier release.
More Sweet Comfort
🔒 From the Vault — 43,000+ premium recipes



Cook This Next